
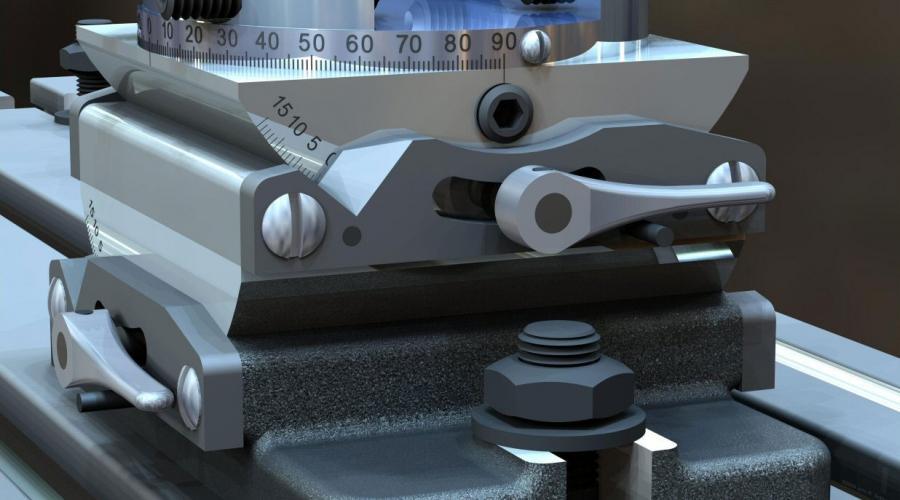
TurboCAD Copilot
Copilot Render Showcase

Why it matters
From technical geometry to a persuasive image
Explore alternatives faster
Test variations in mood, finish, setting, and supporting geometry by changing the prompt instead of rebuilding the model from scratch.
Communicate intent clearly
Overlay enhanced visuals on the source drawing so reviewers can read the original design while seeing a richer concept direction.
Present earlier with confidence
Generate polished concept imagery for internal reviews, client feedback, and pitch materials long before final production rendering.
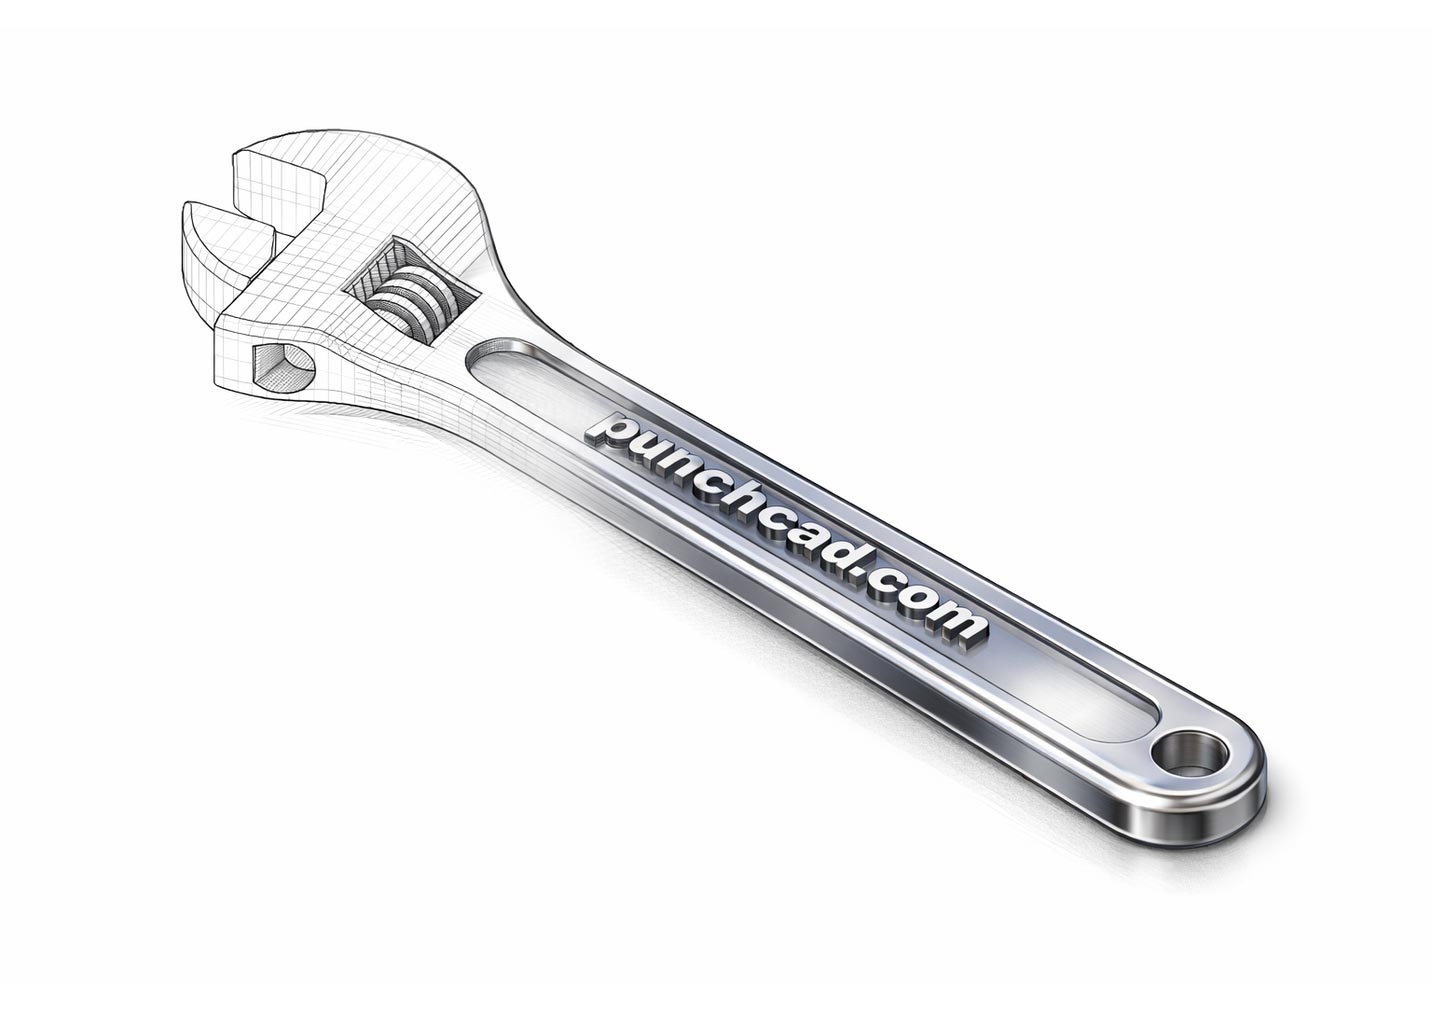
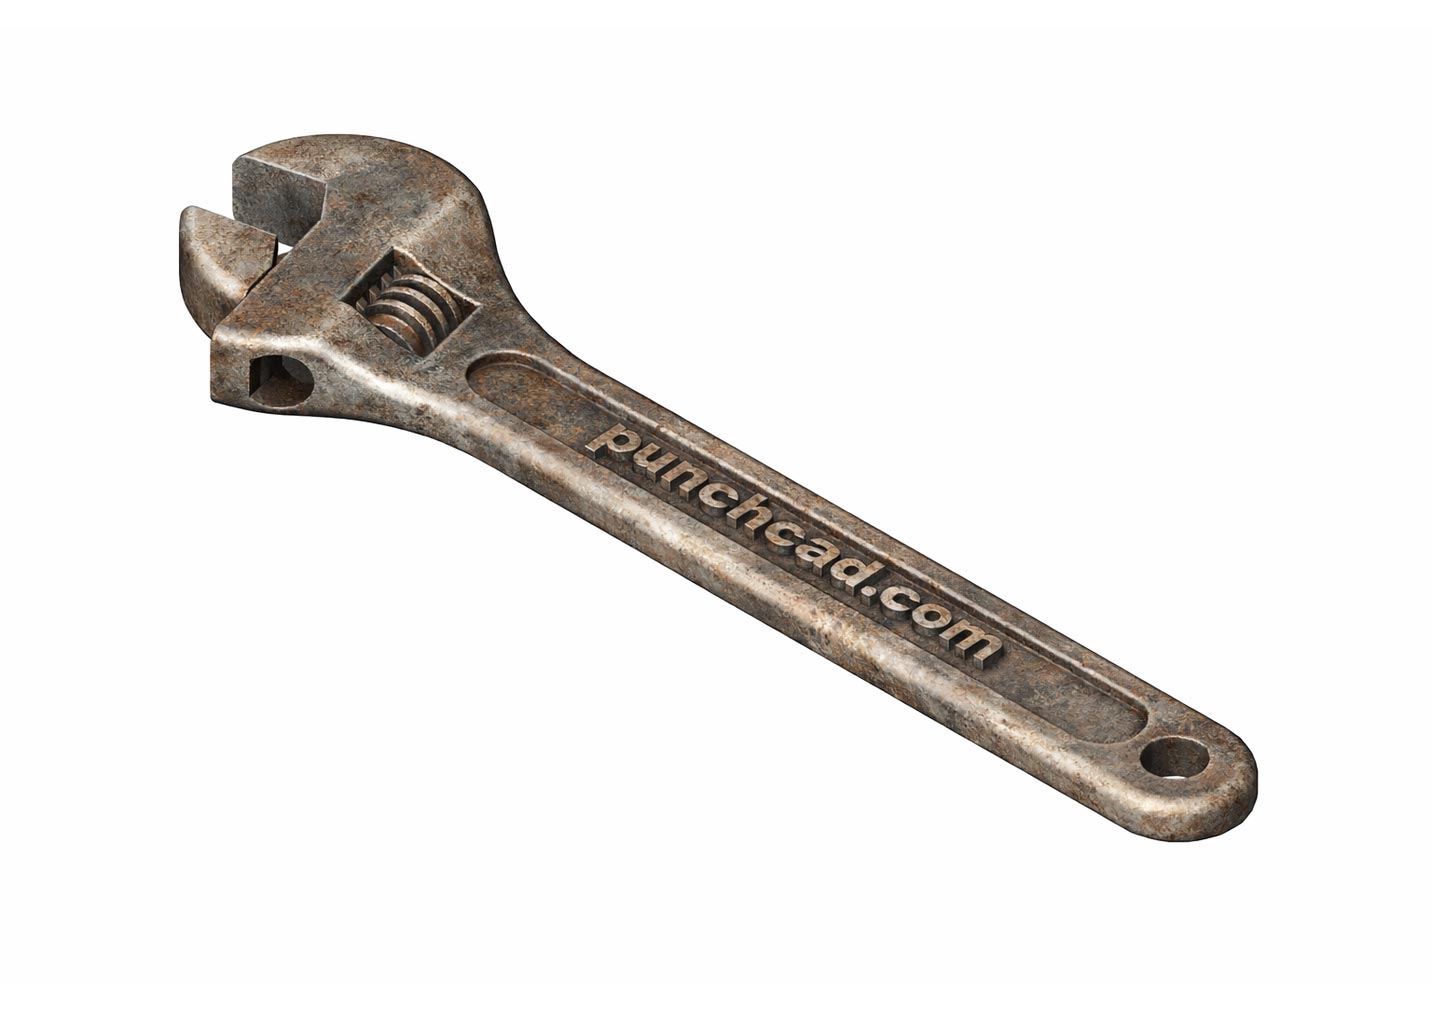
Before and after showcase
Drag each slider to compare
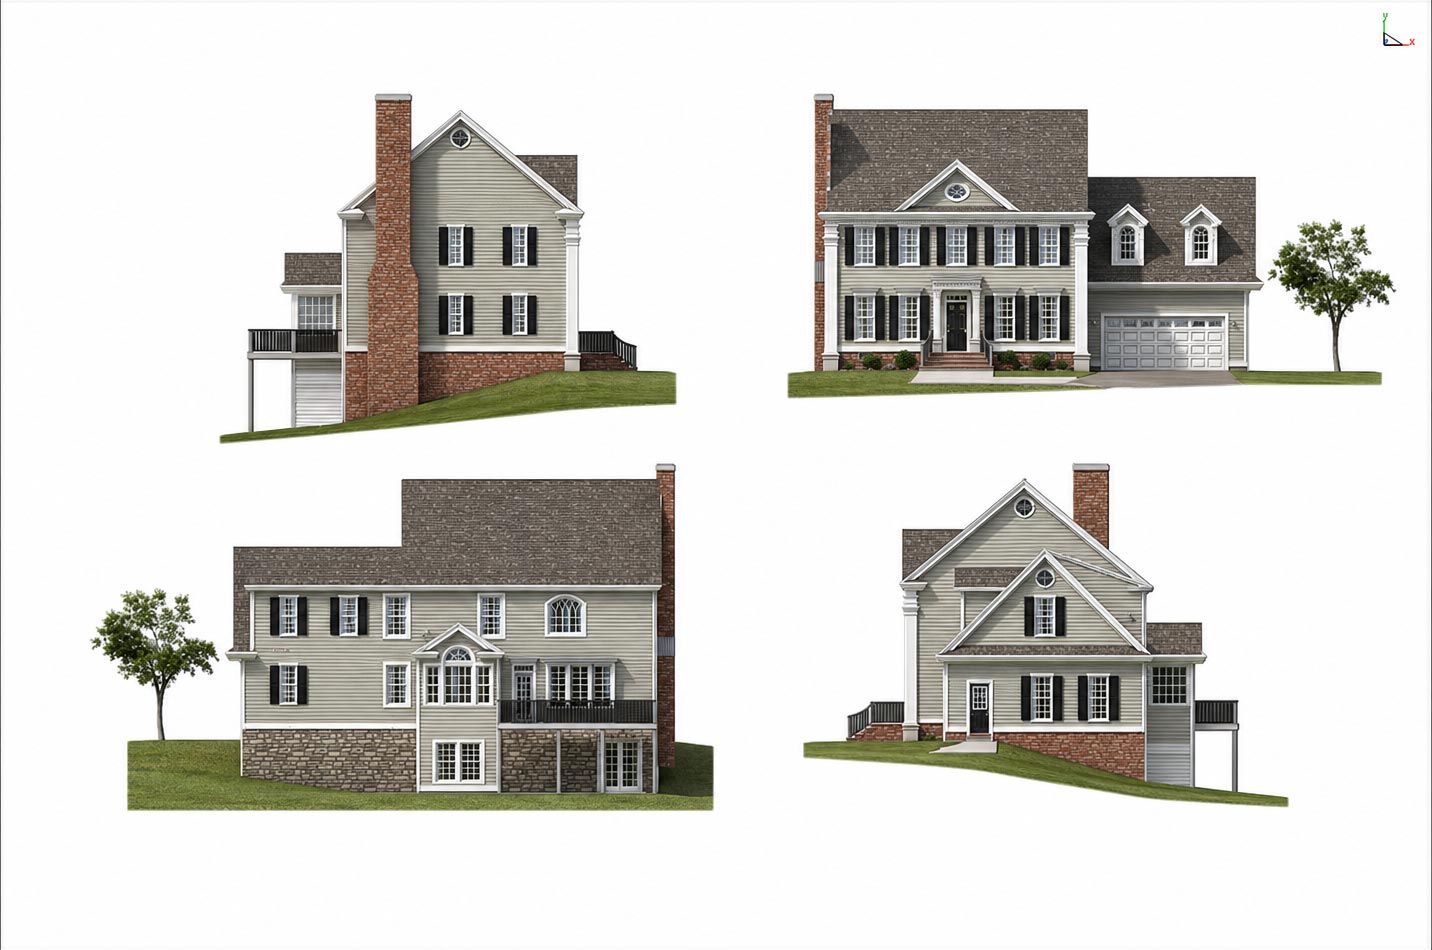
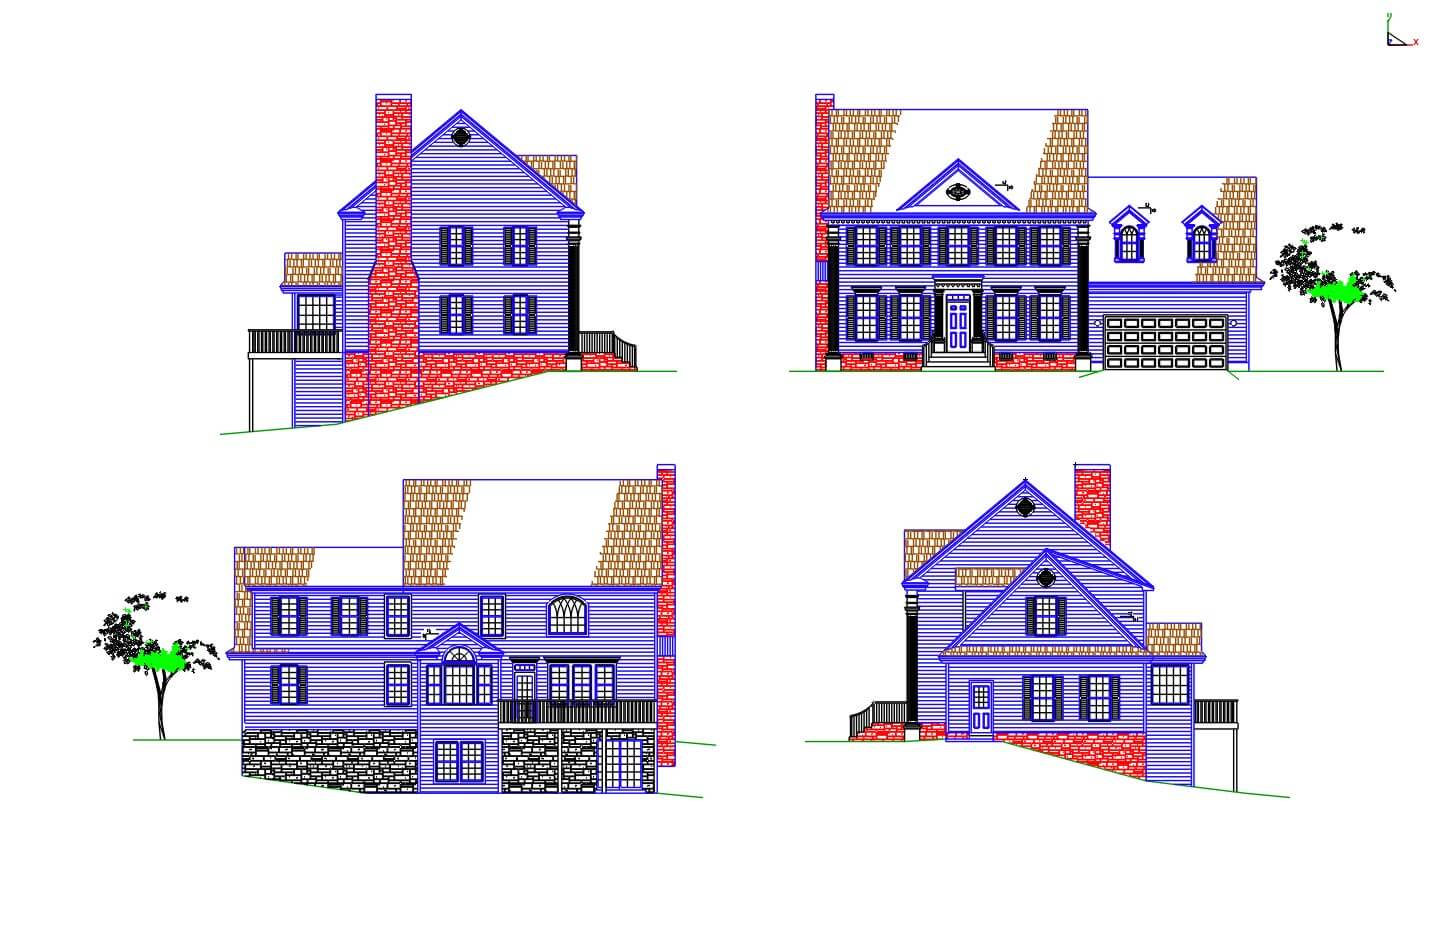
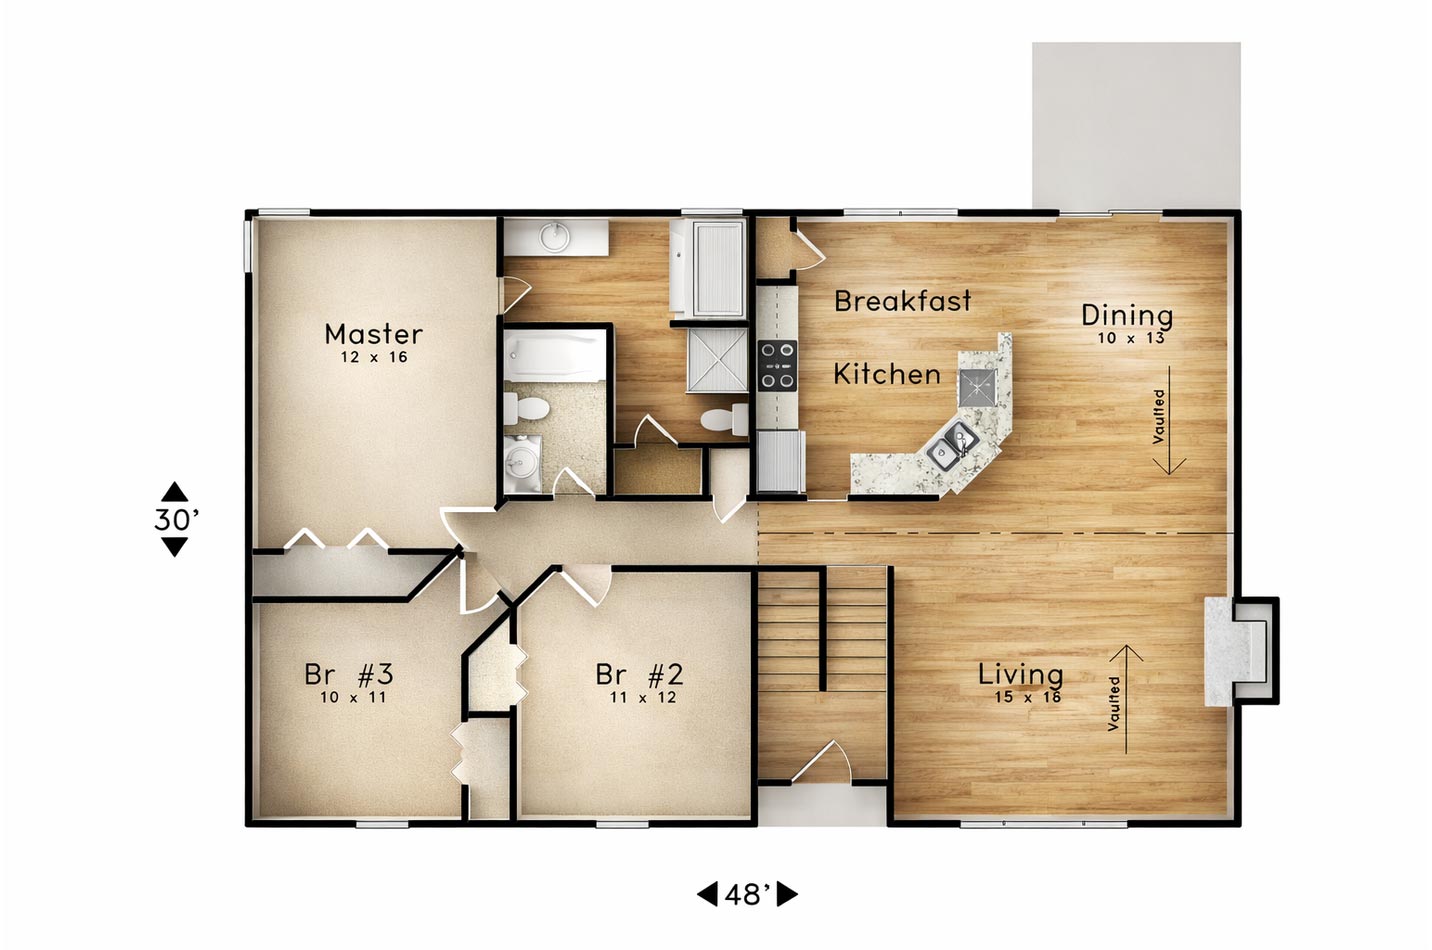
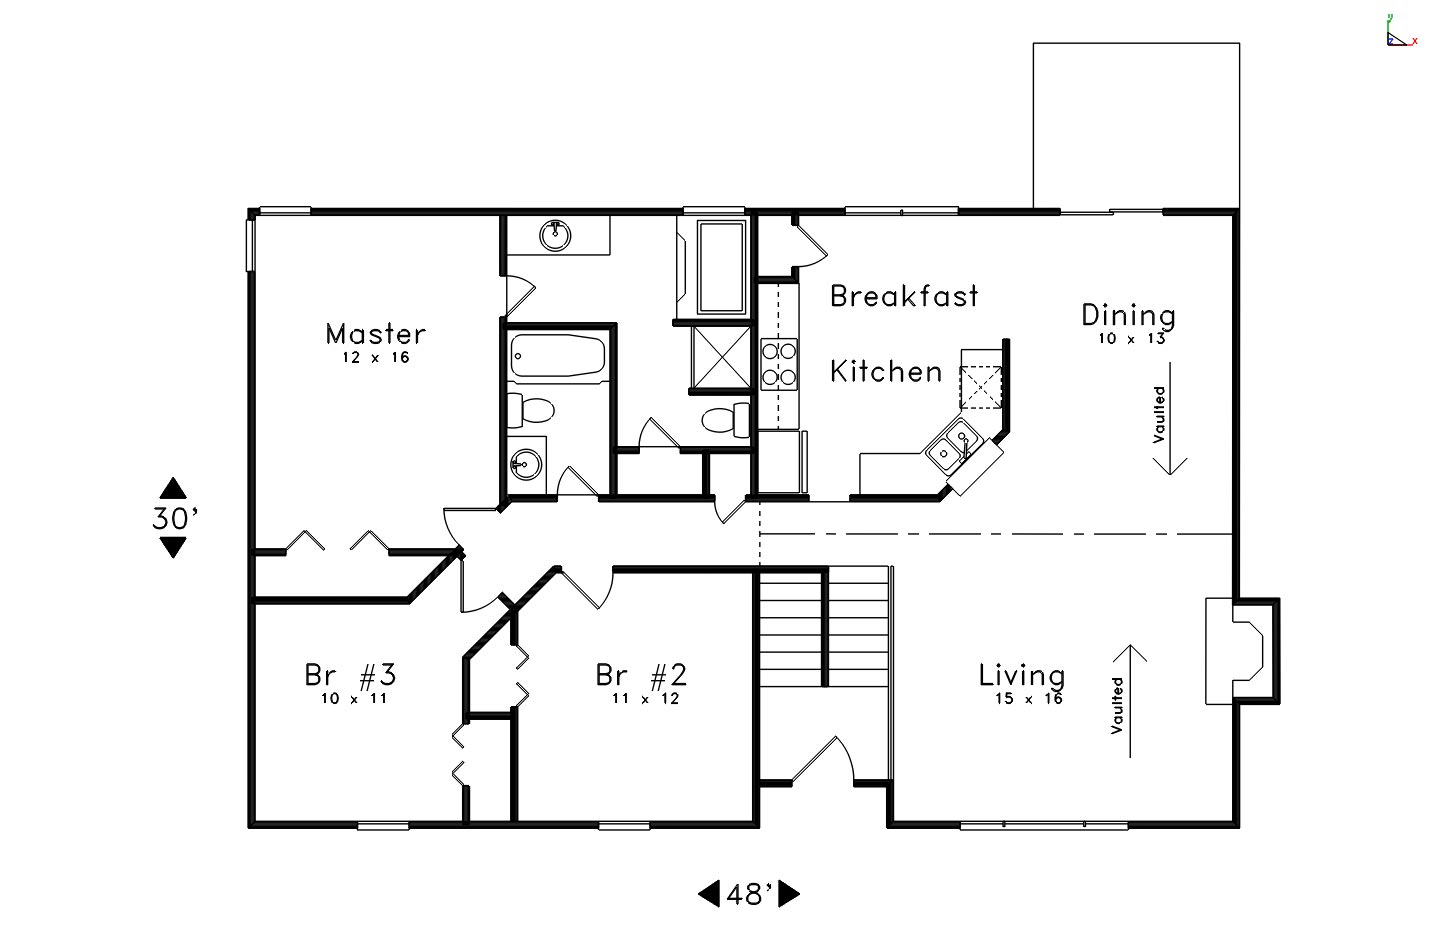
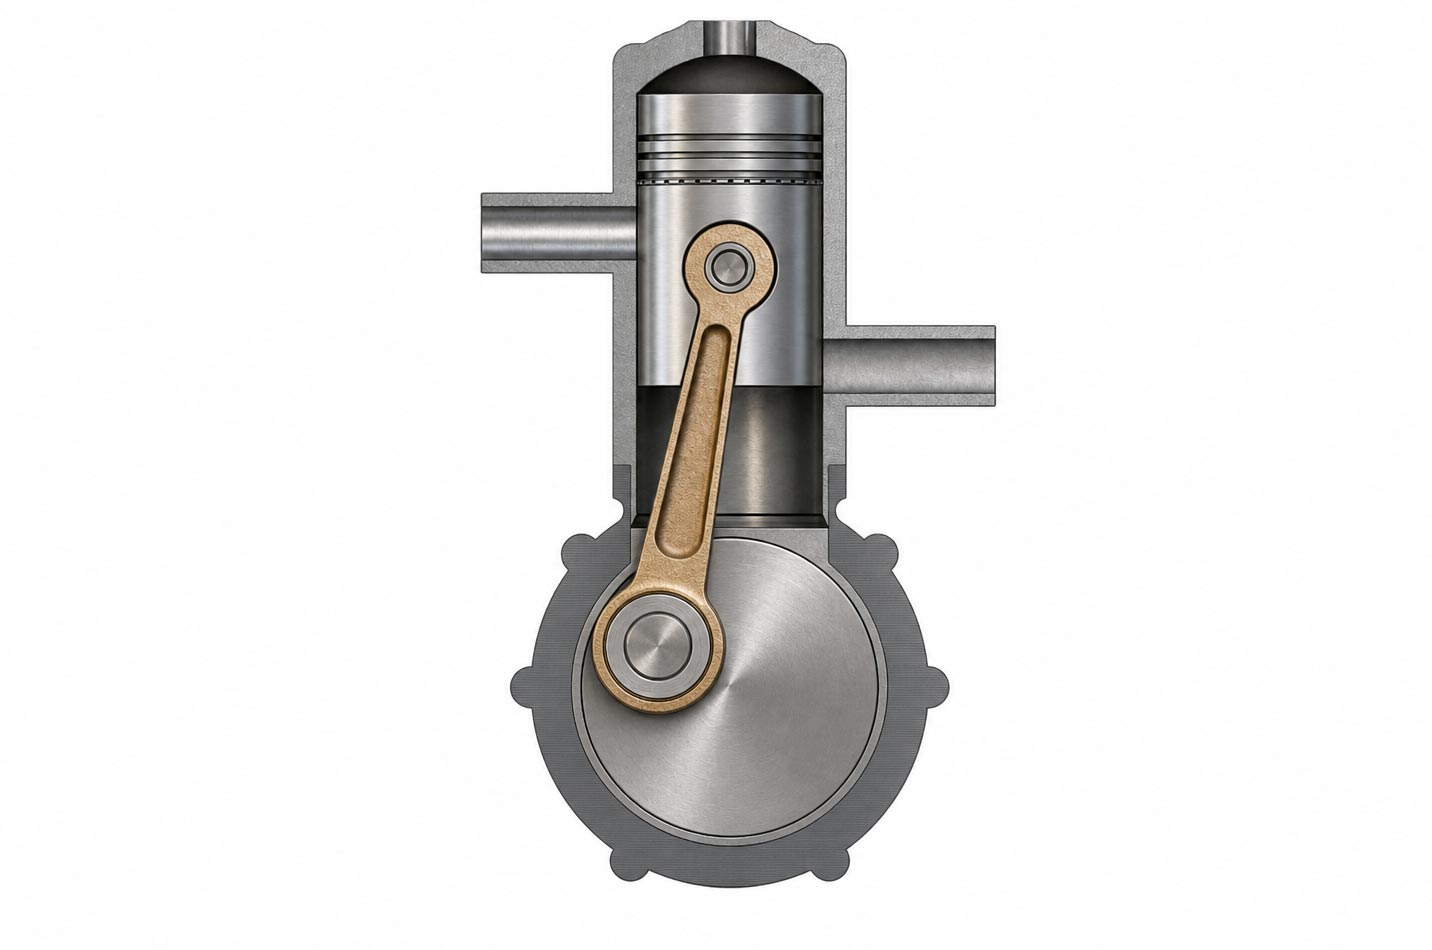
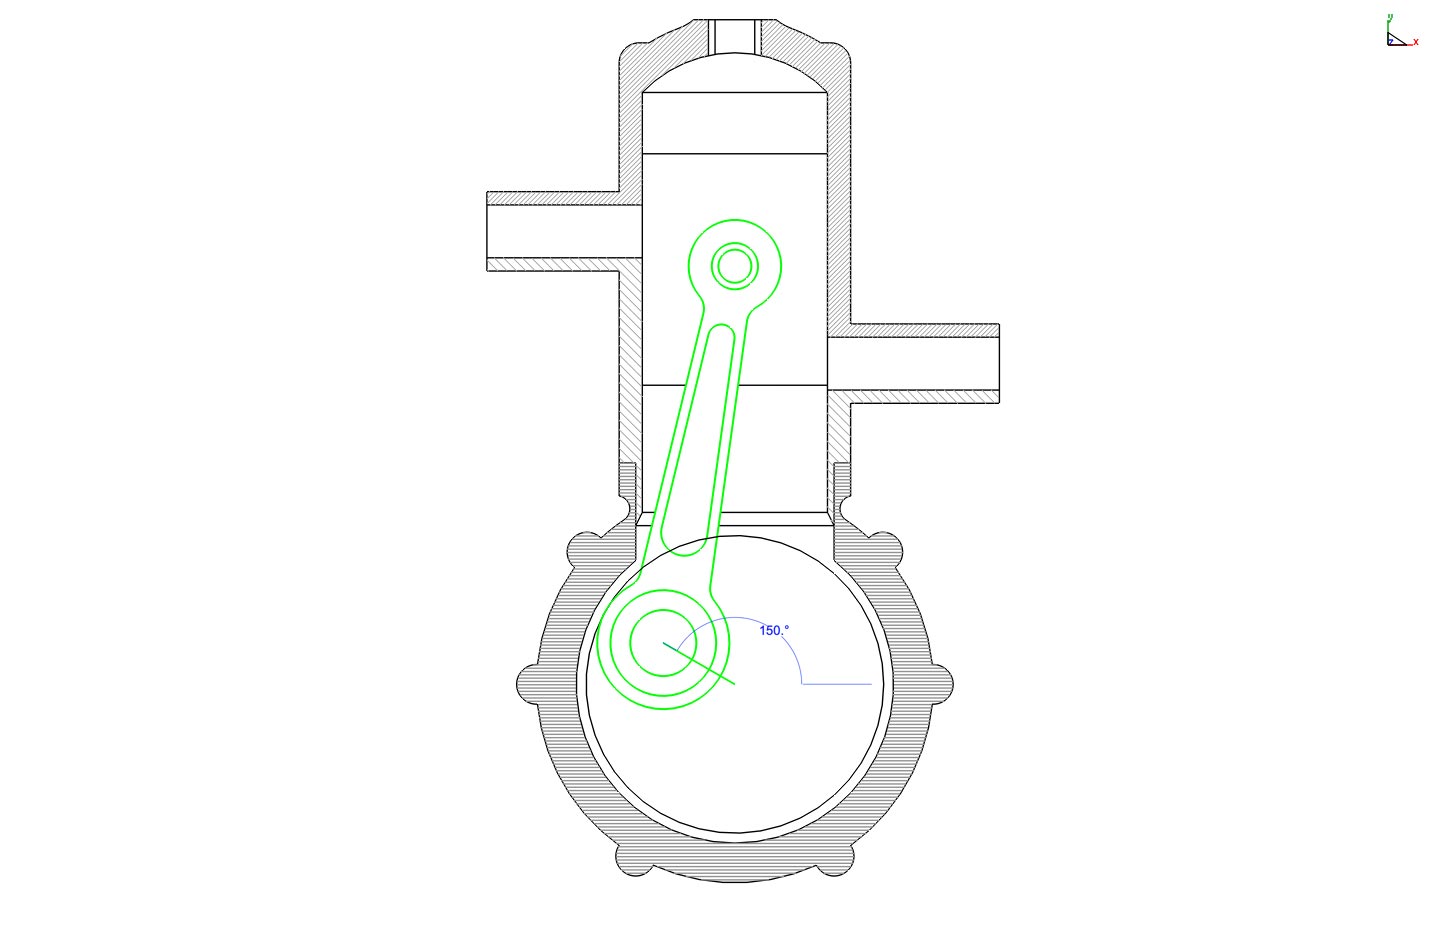
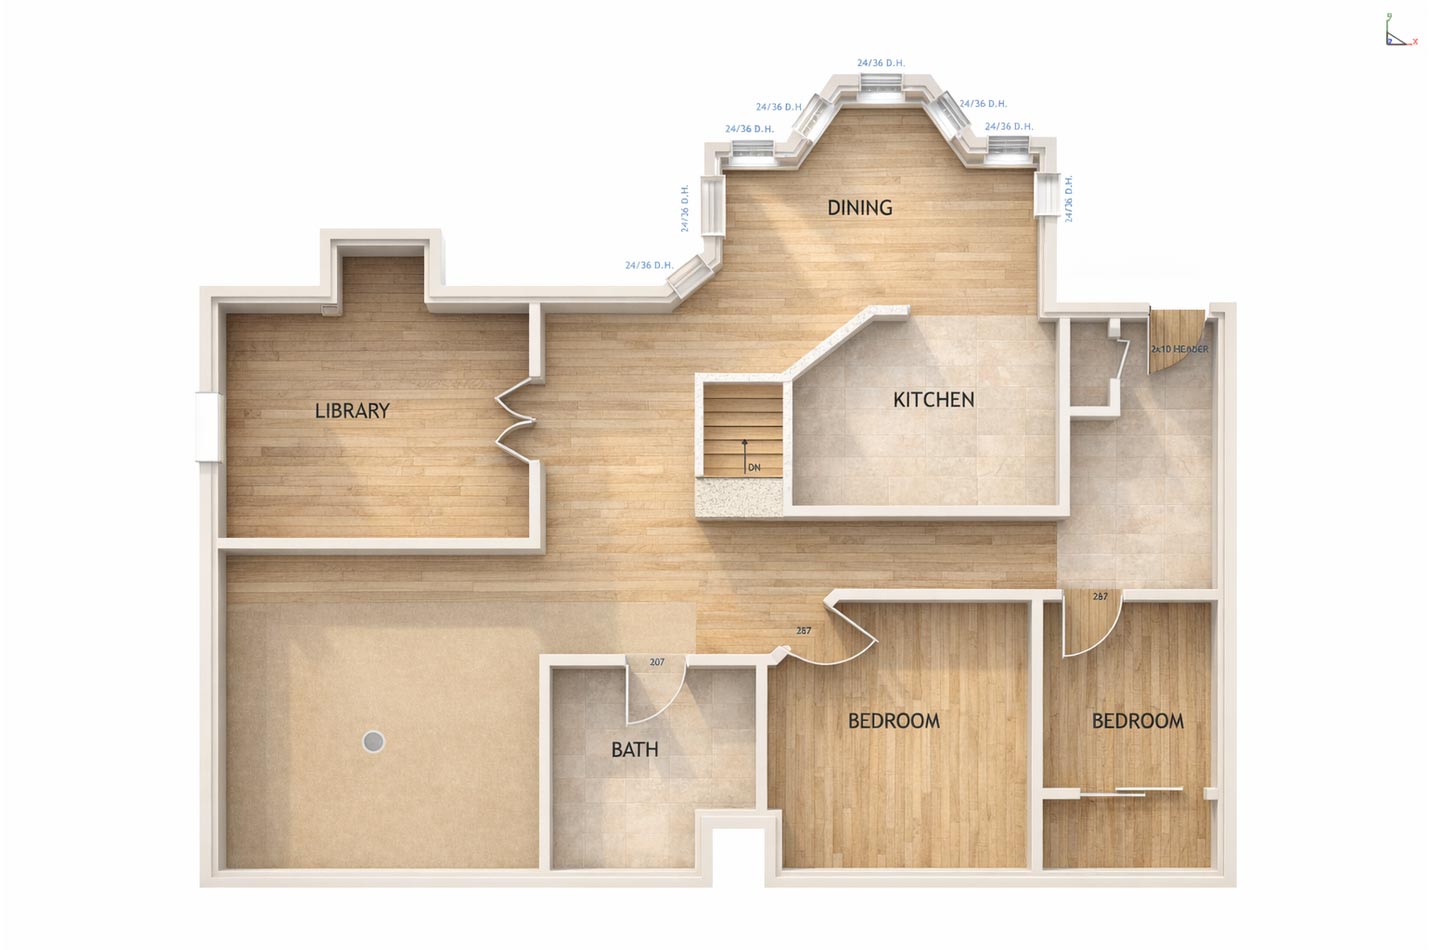
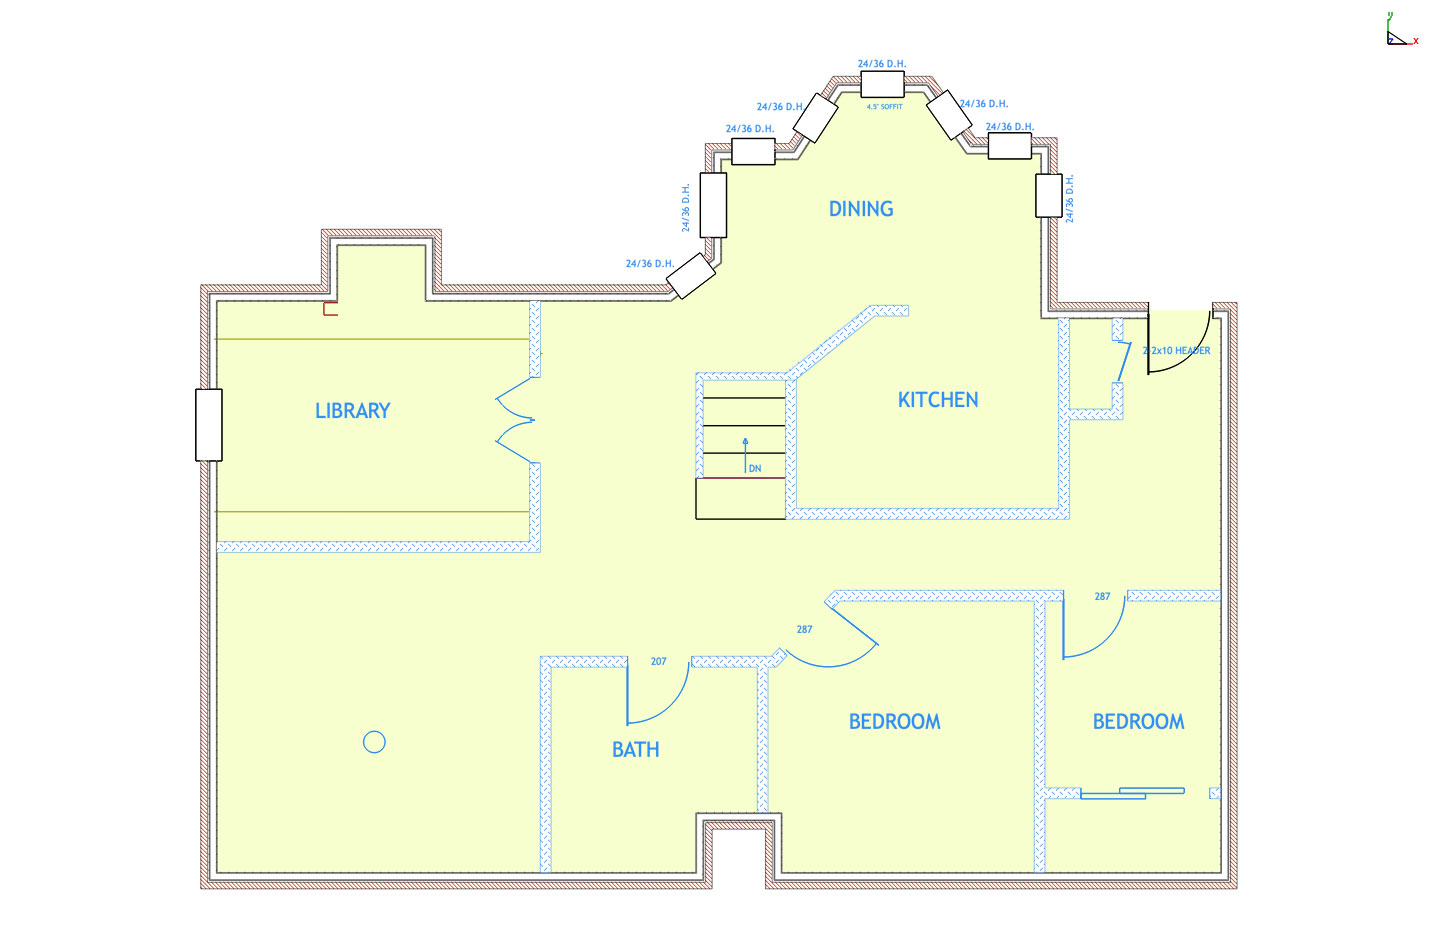
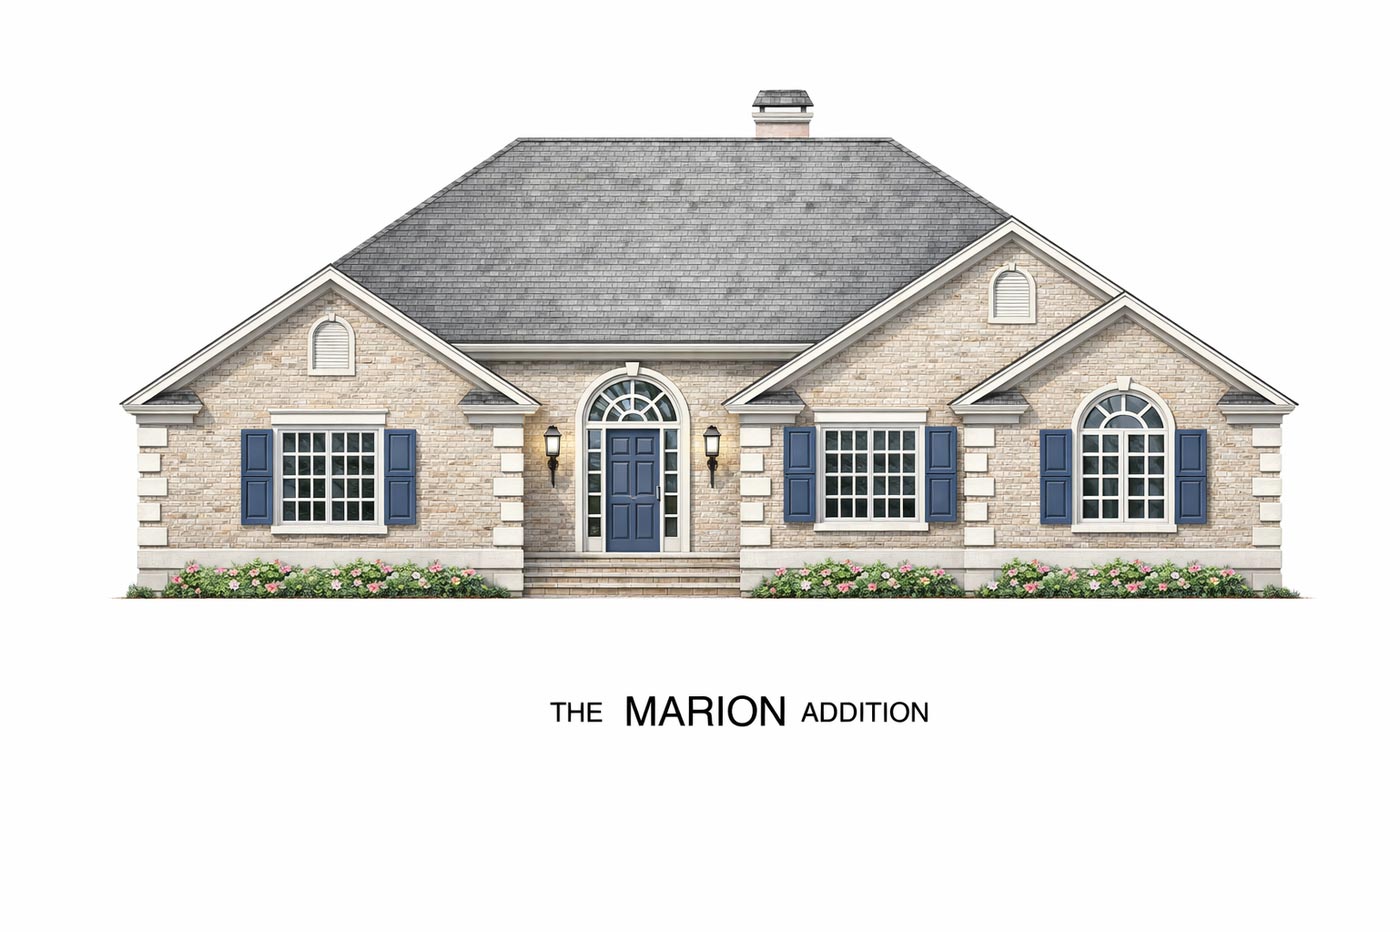
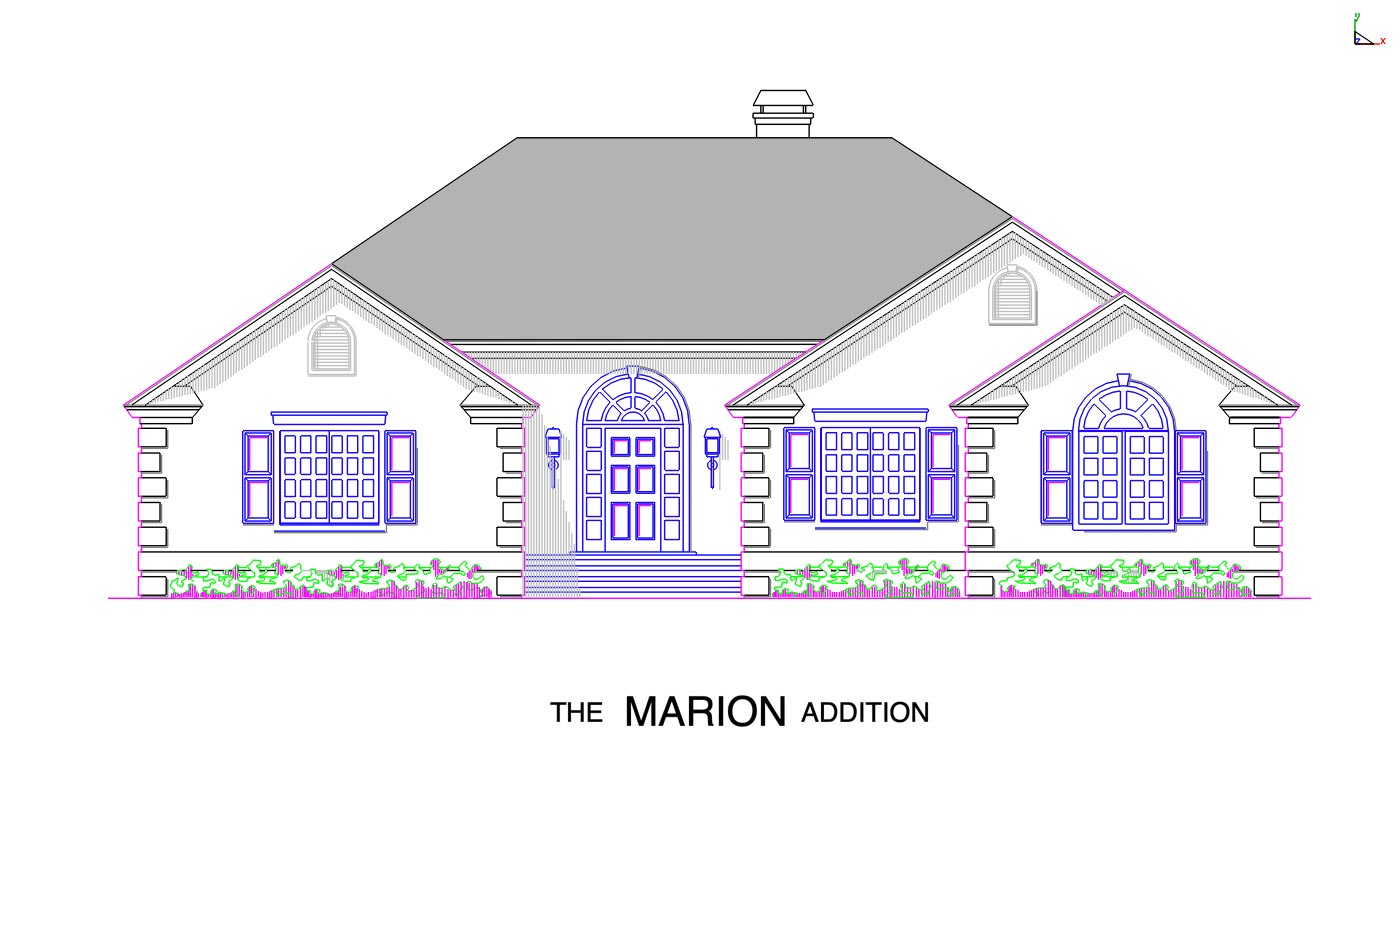
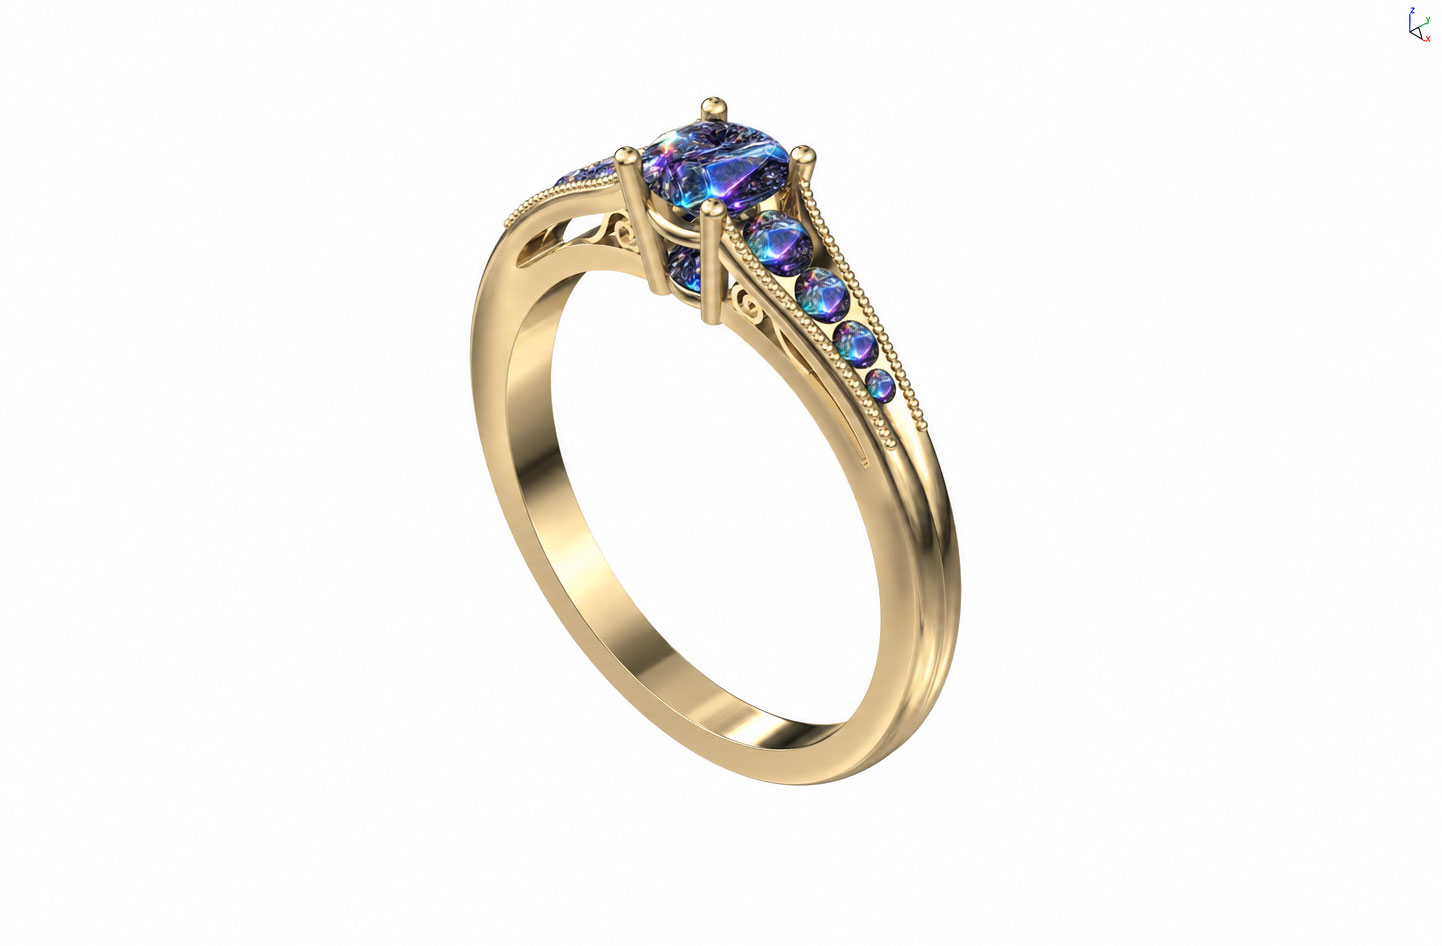
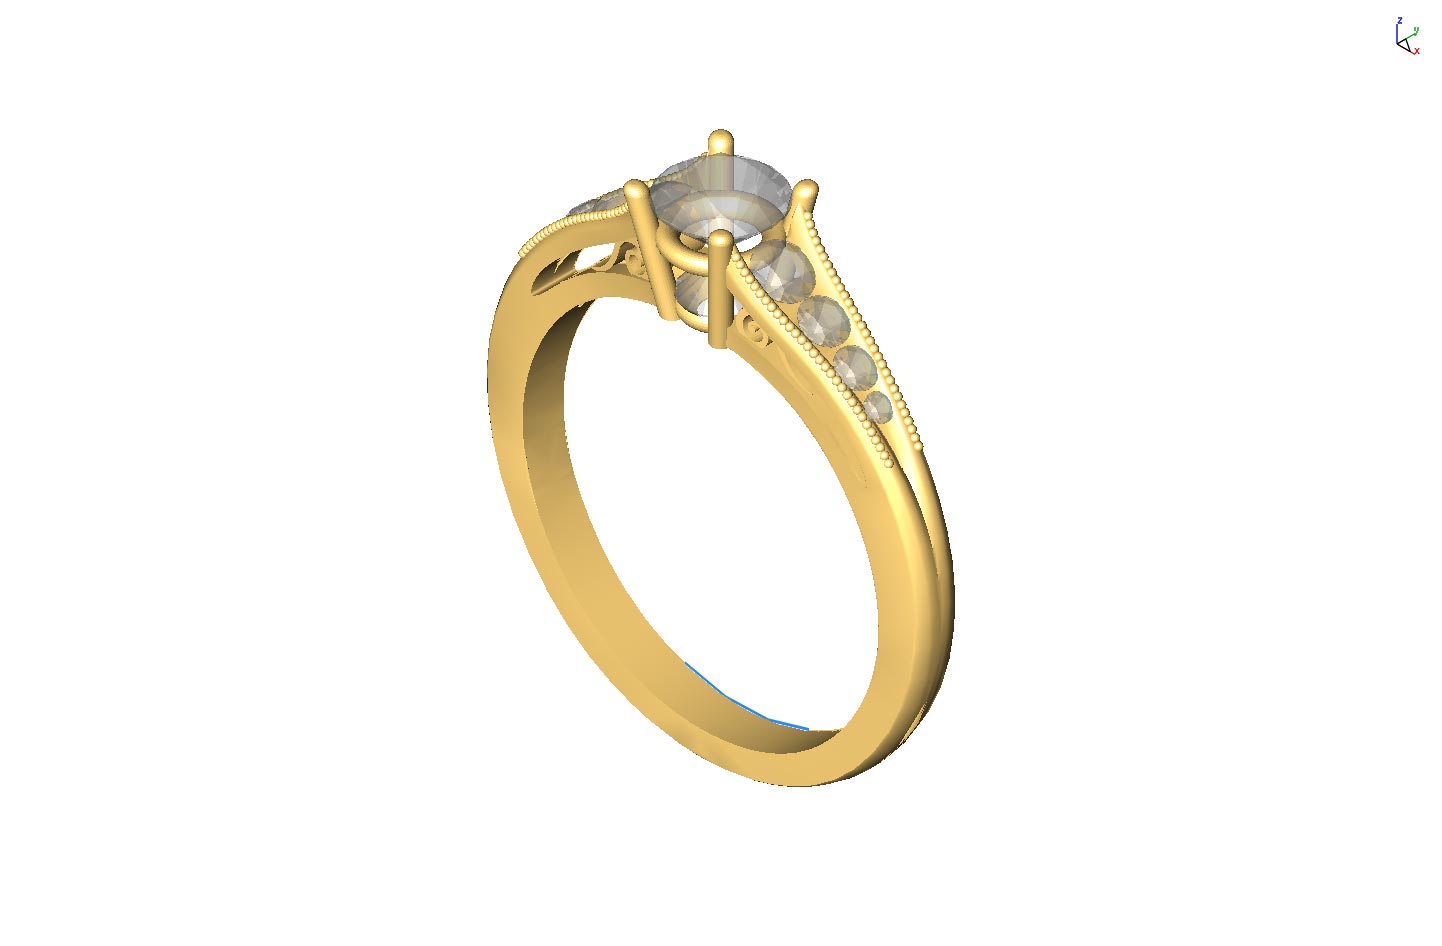
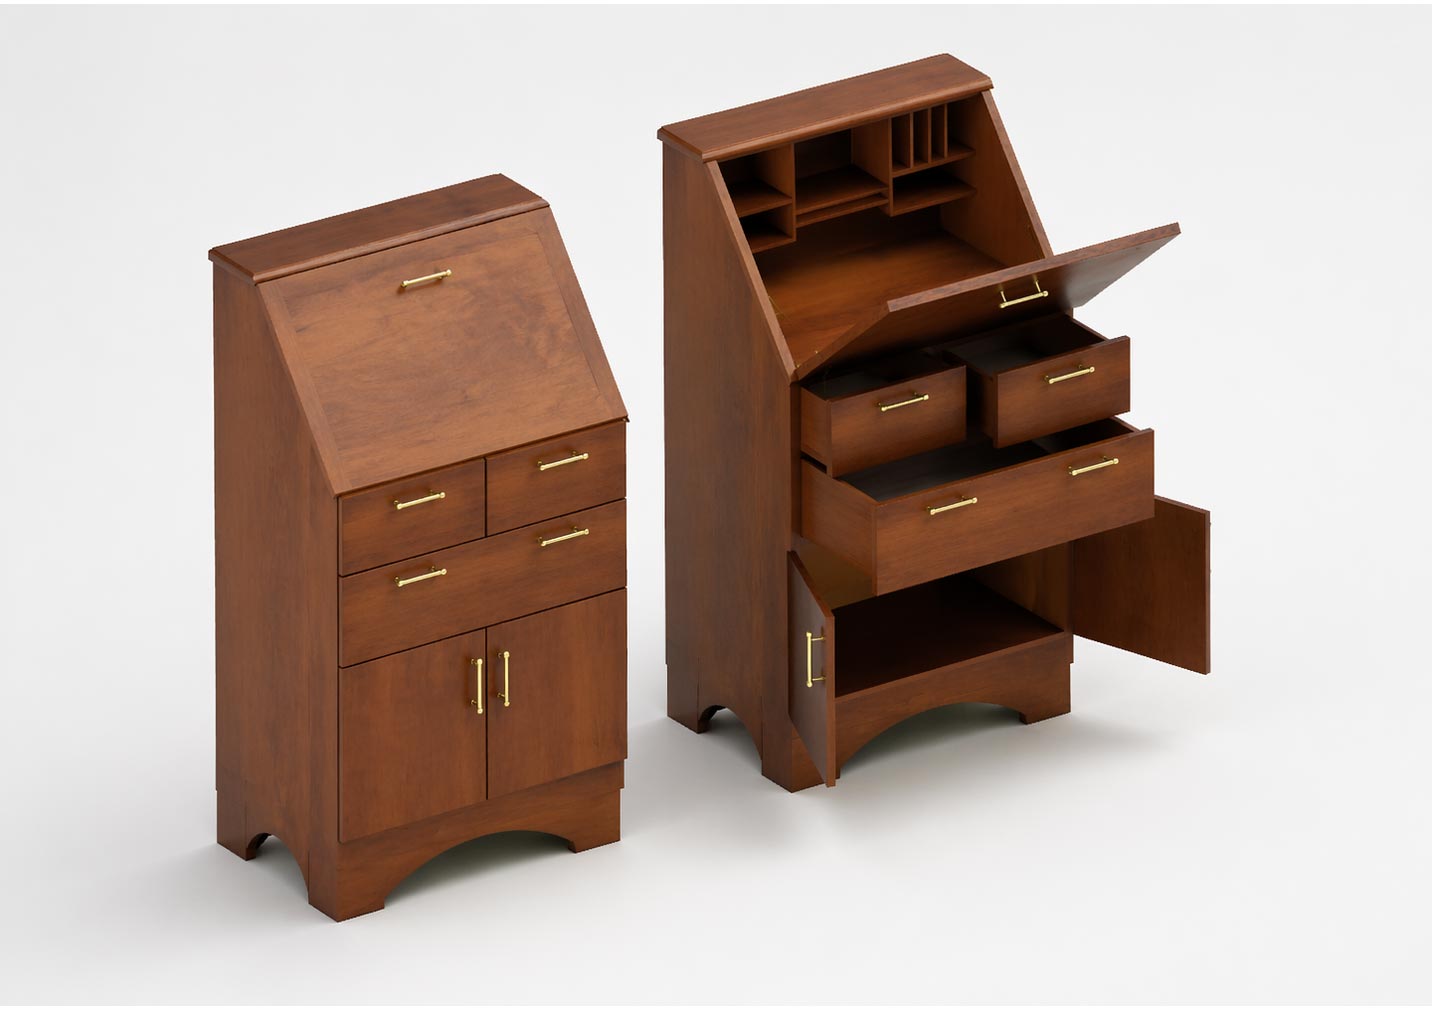
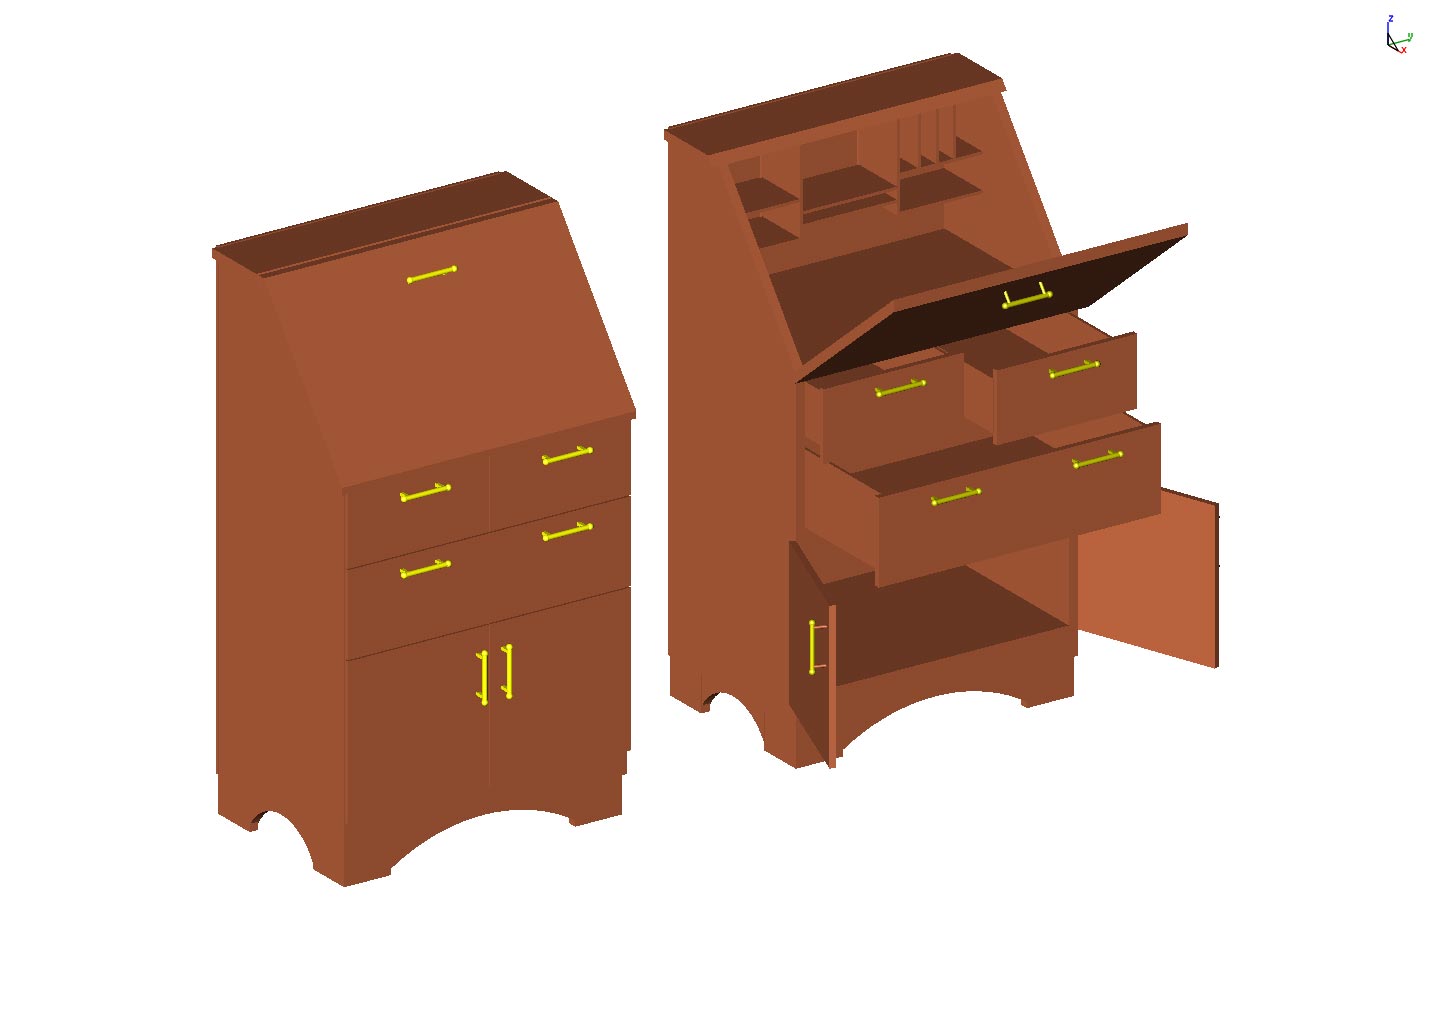
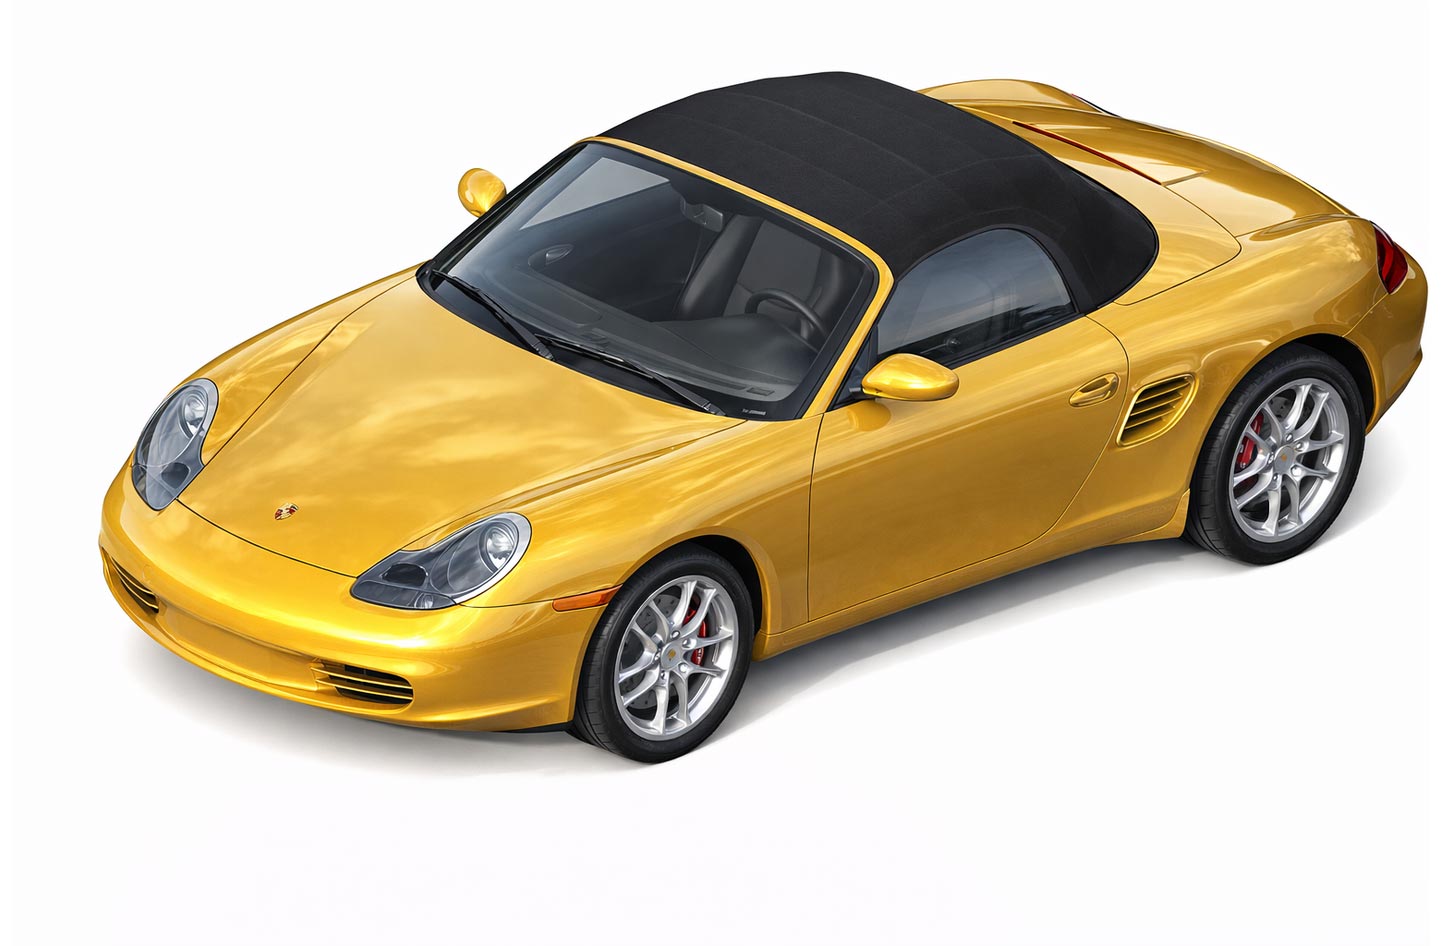
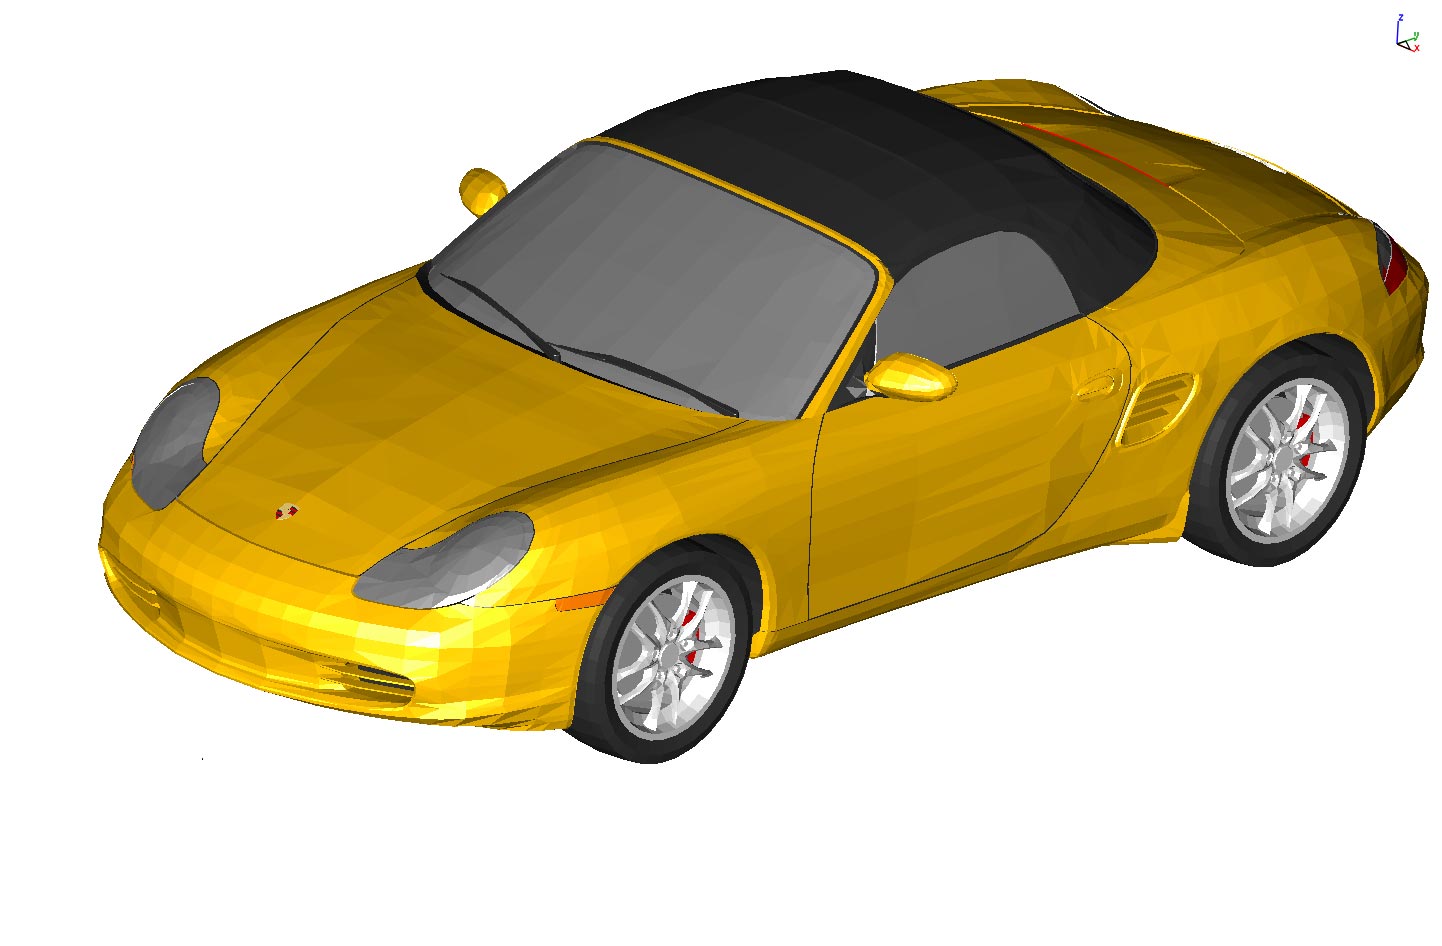

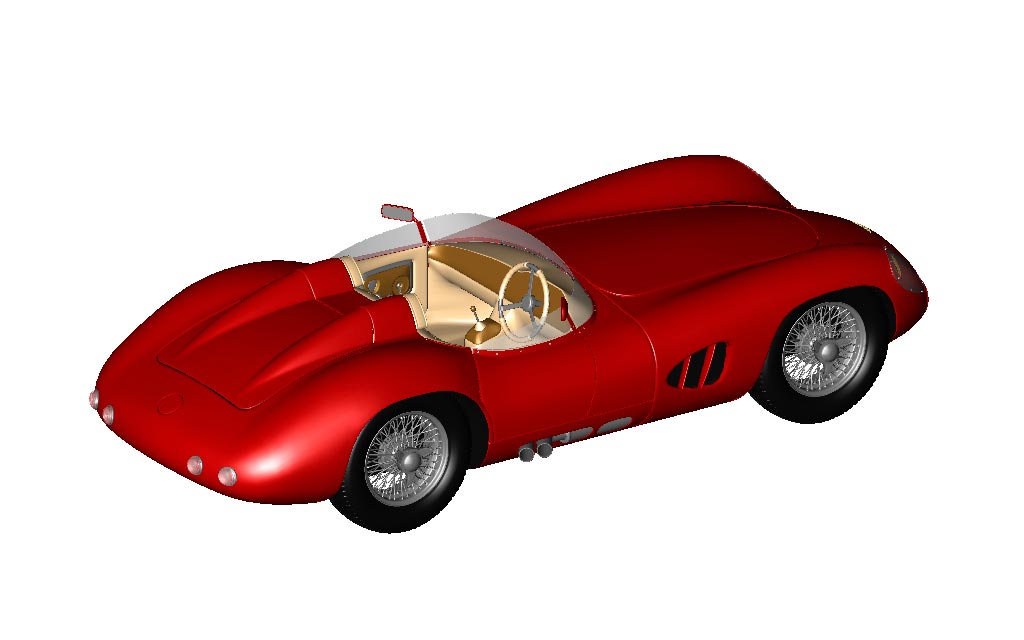
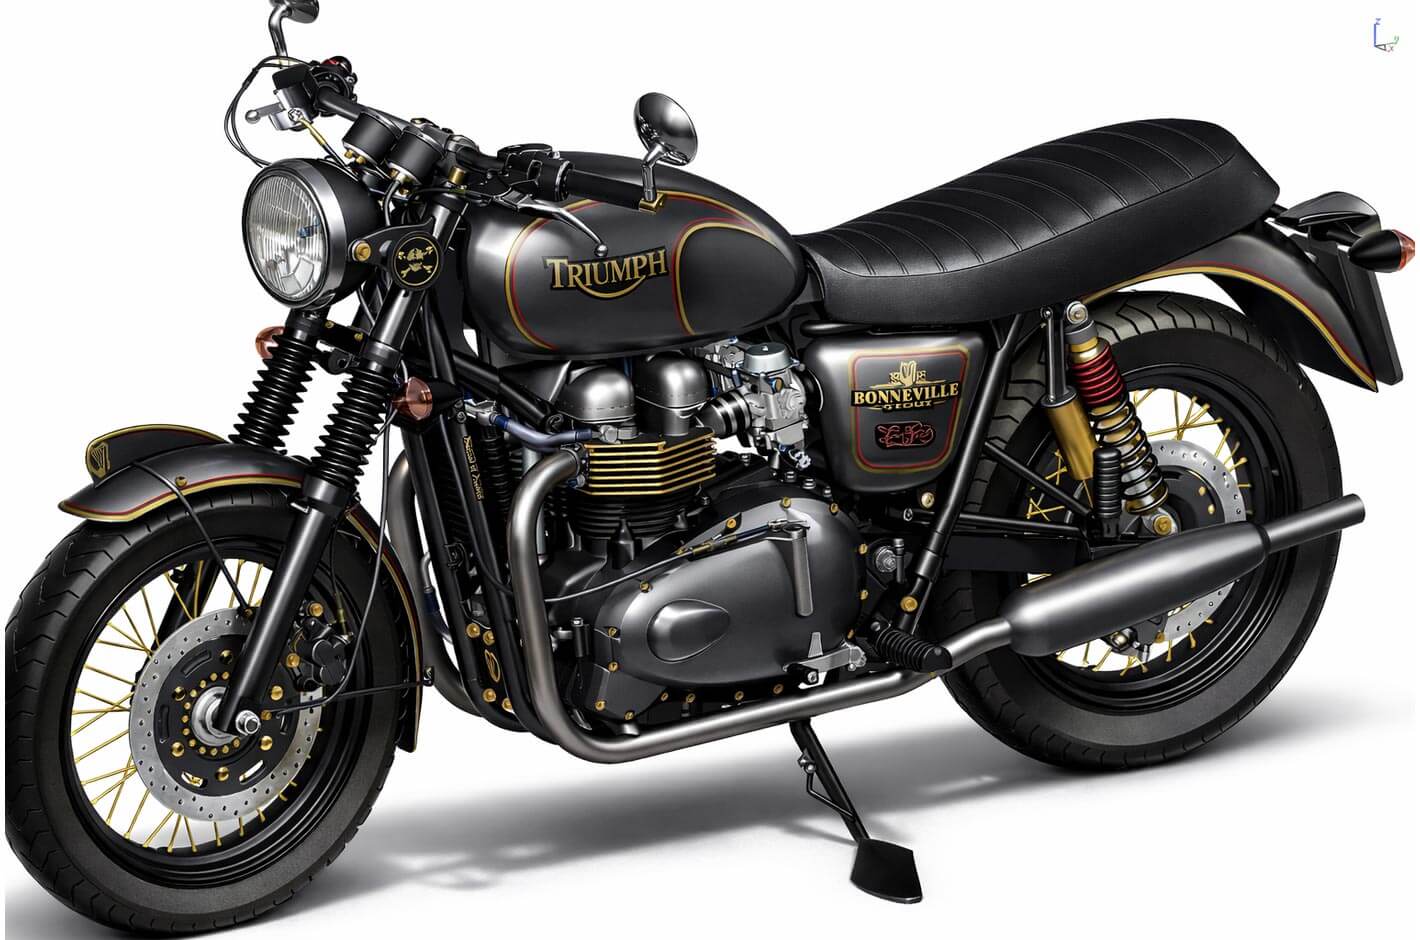
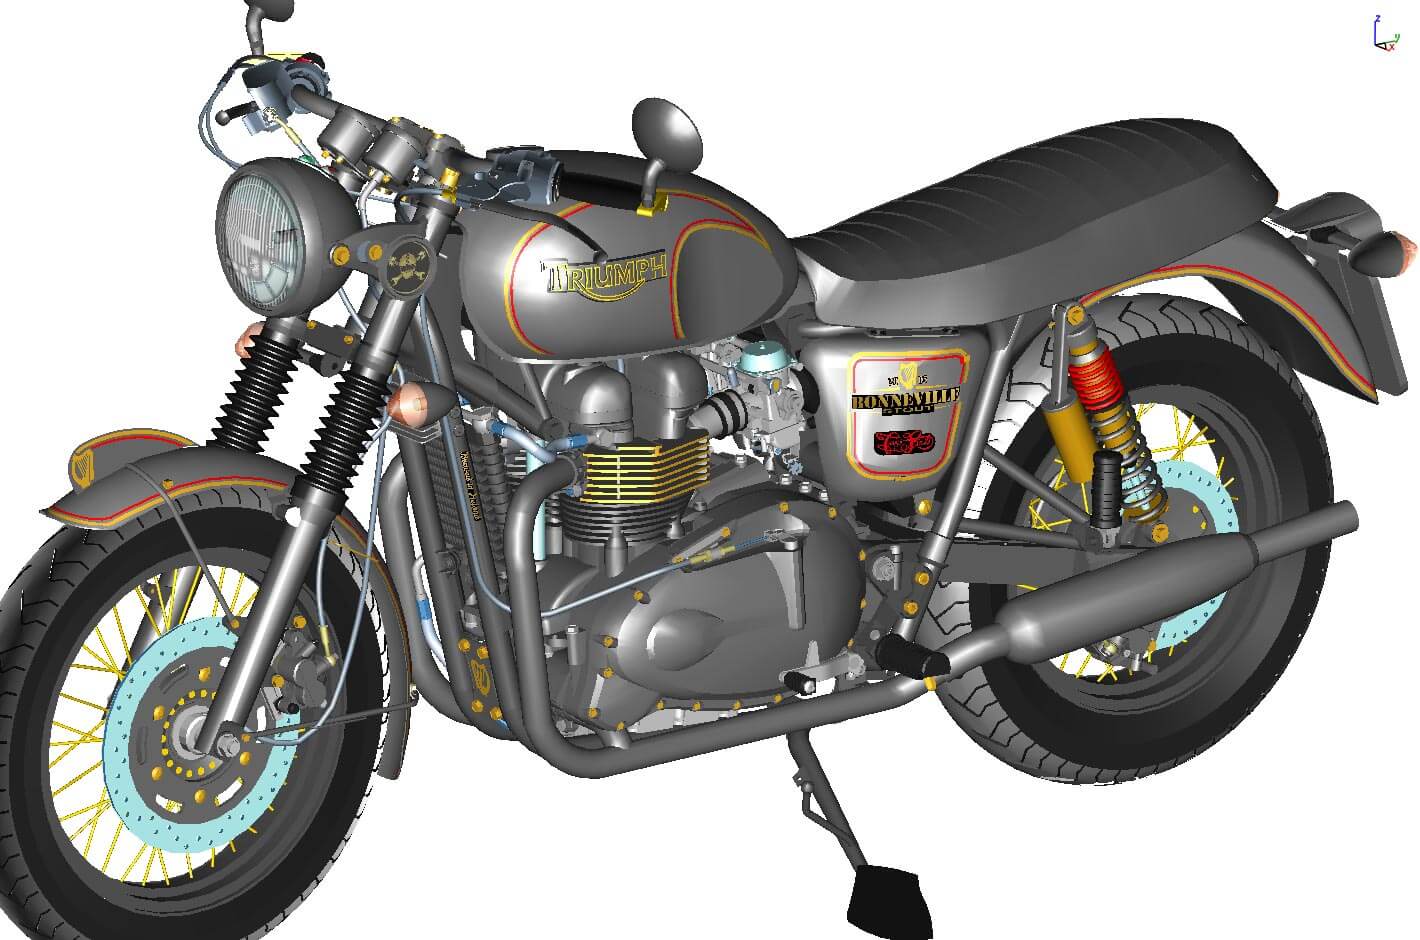
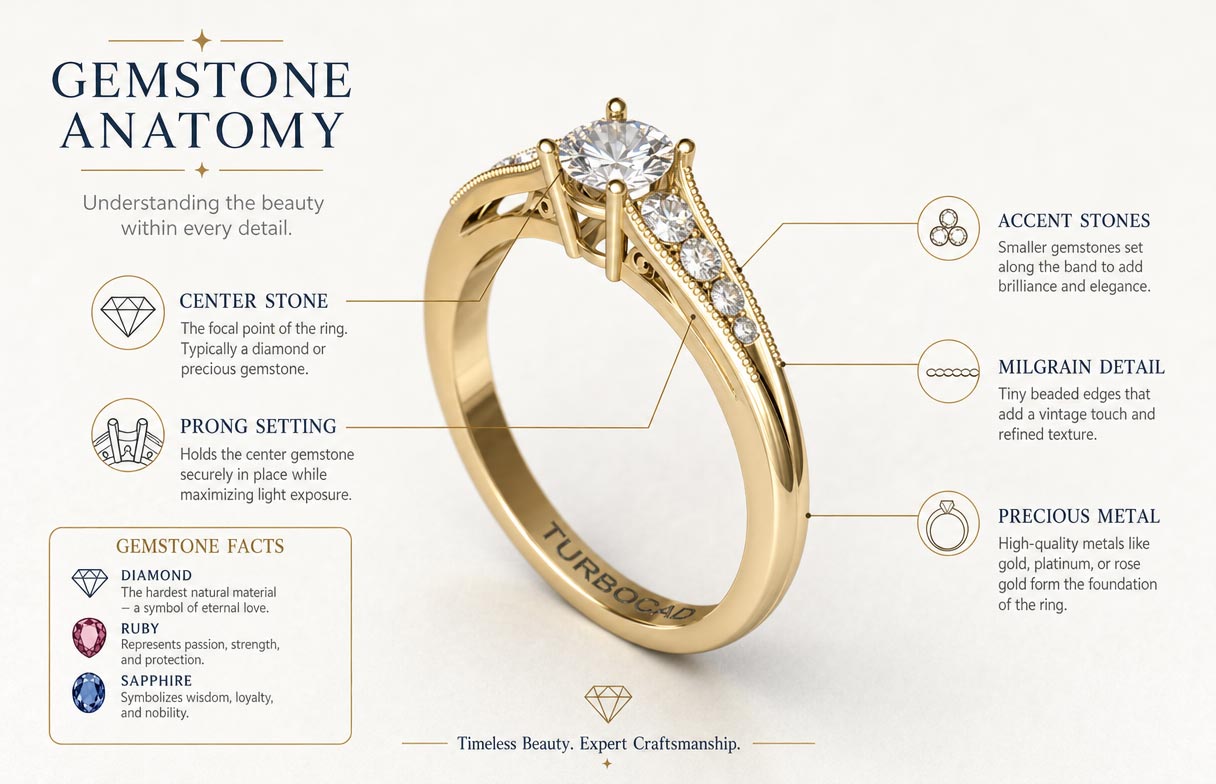
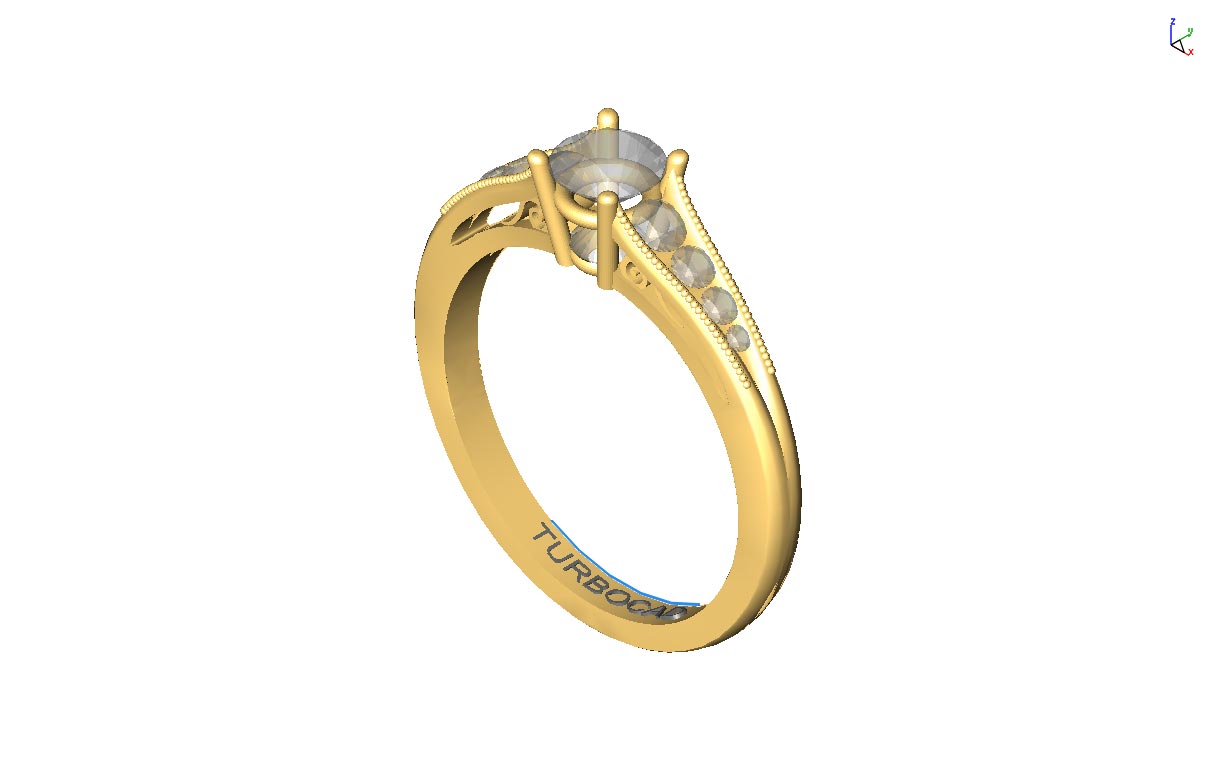

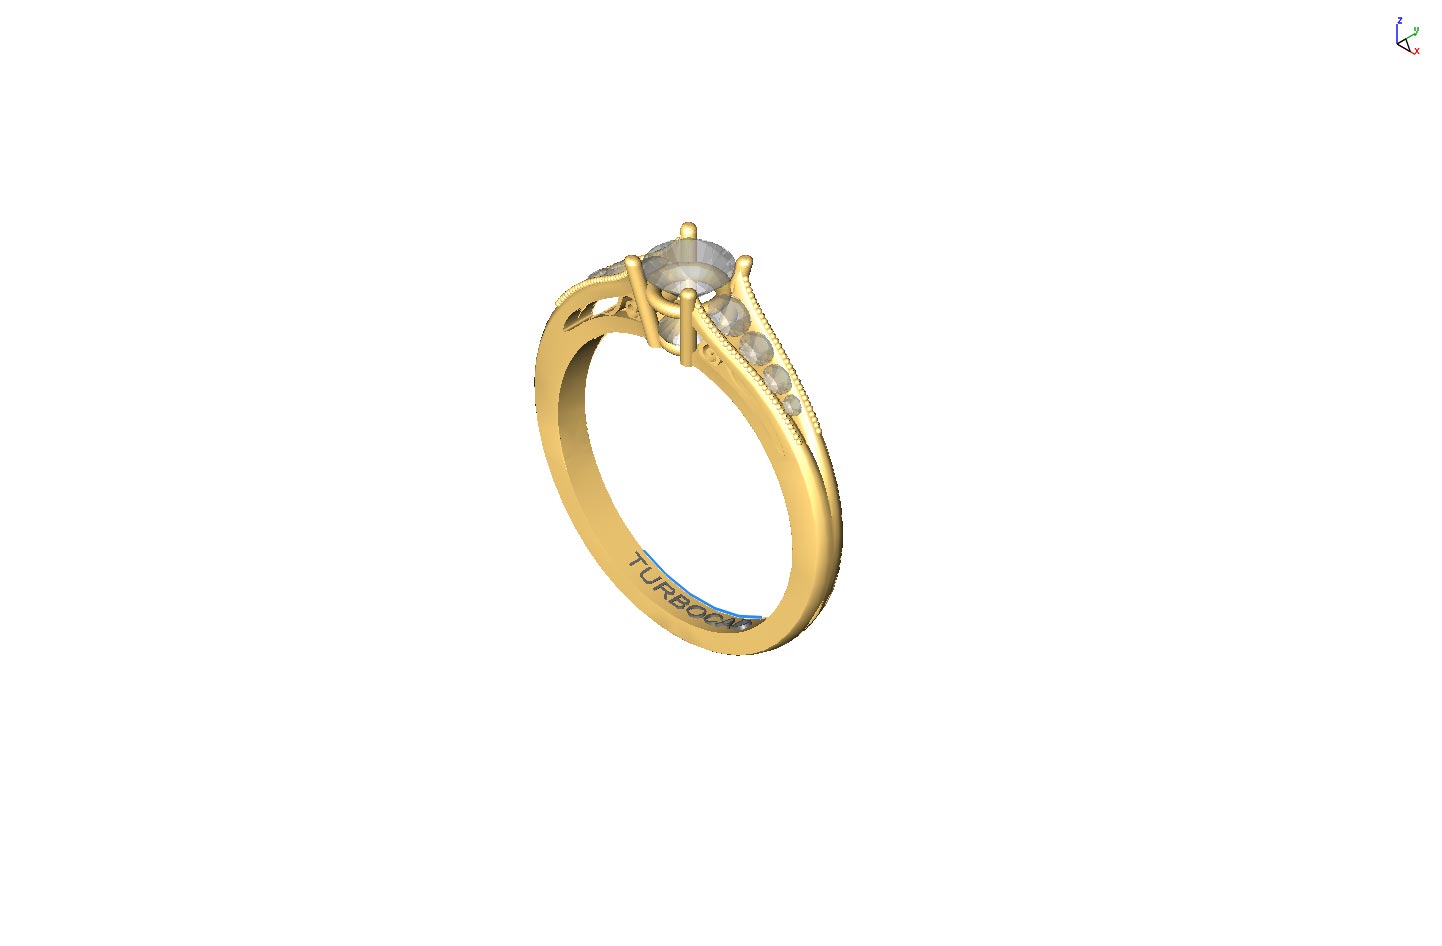
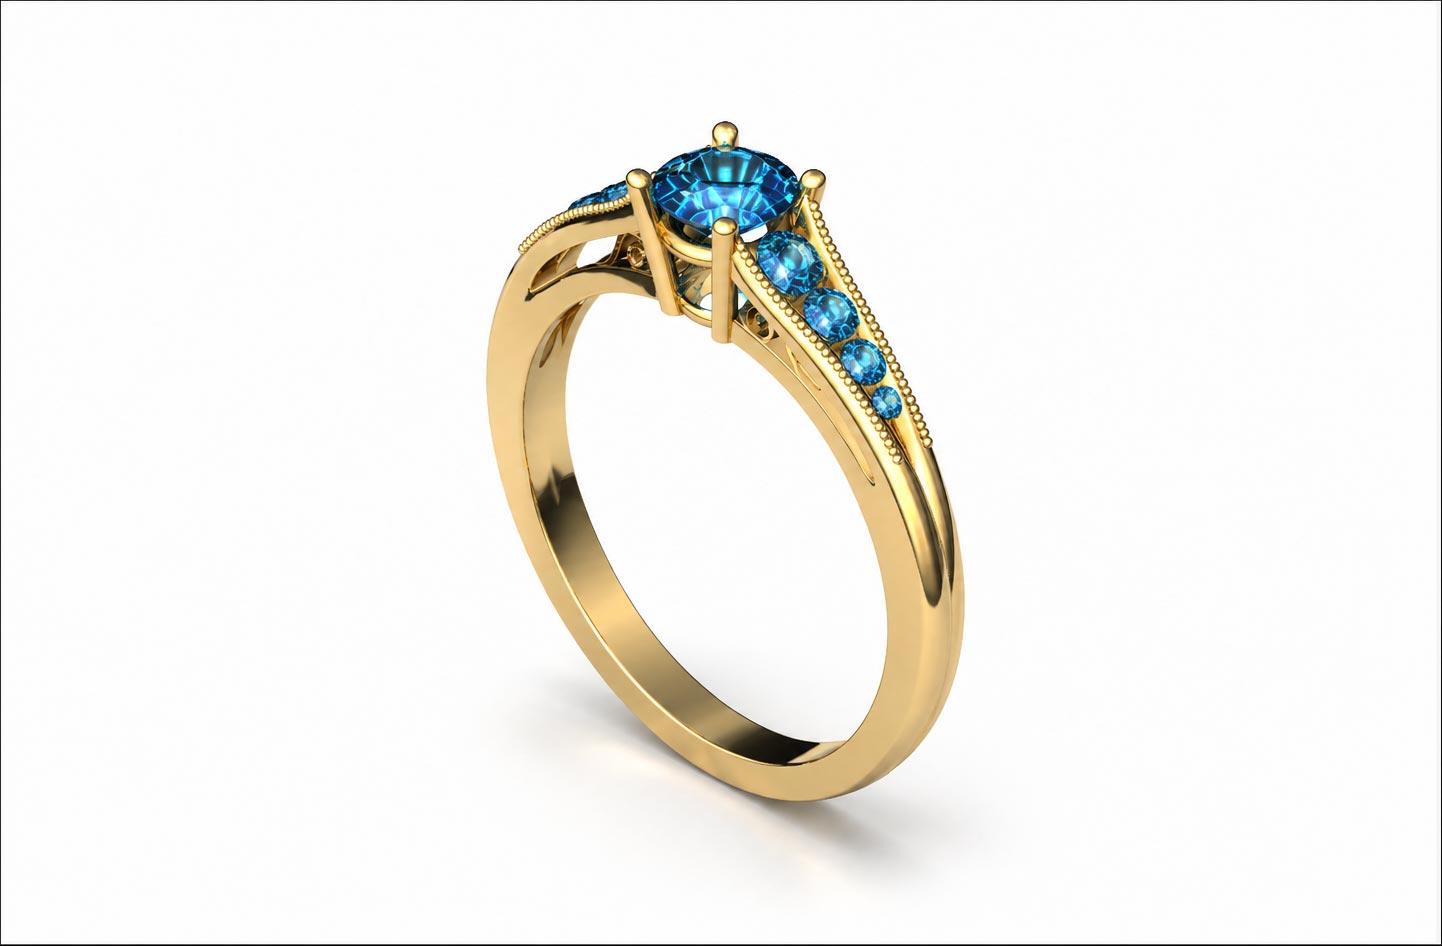
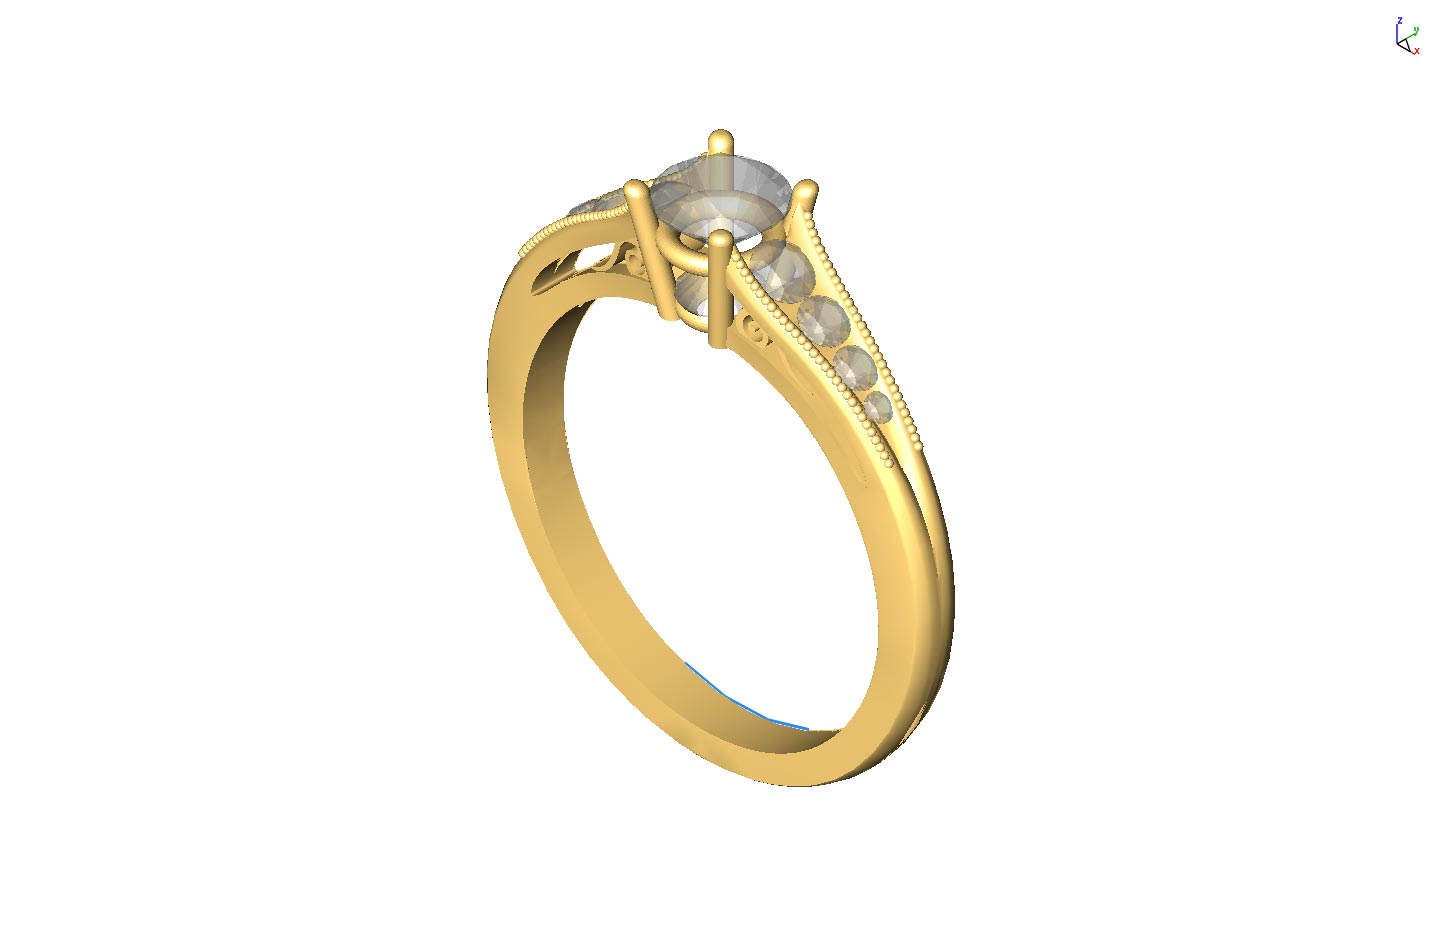
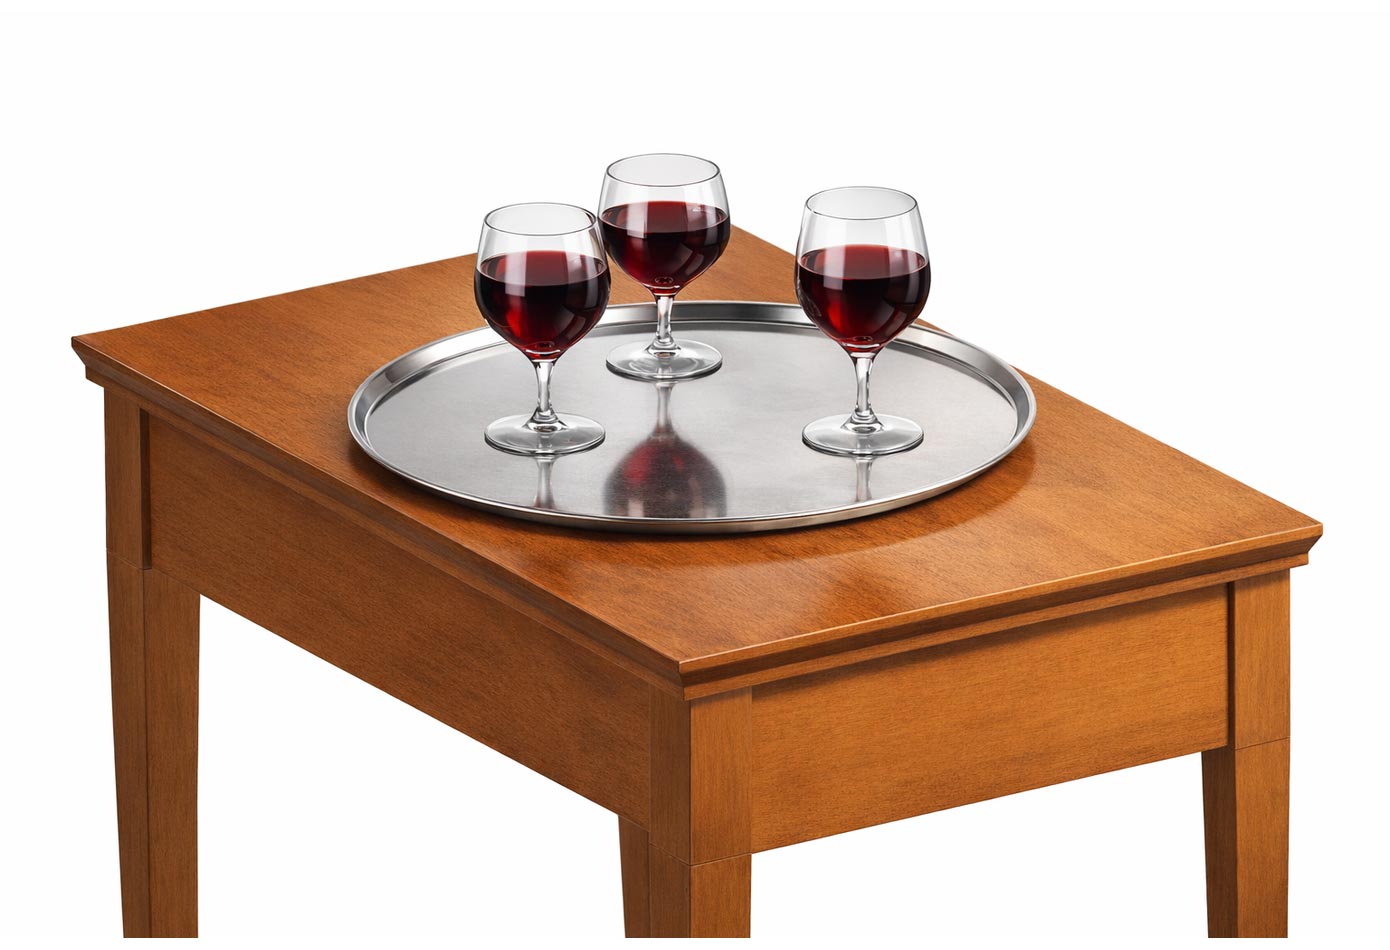
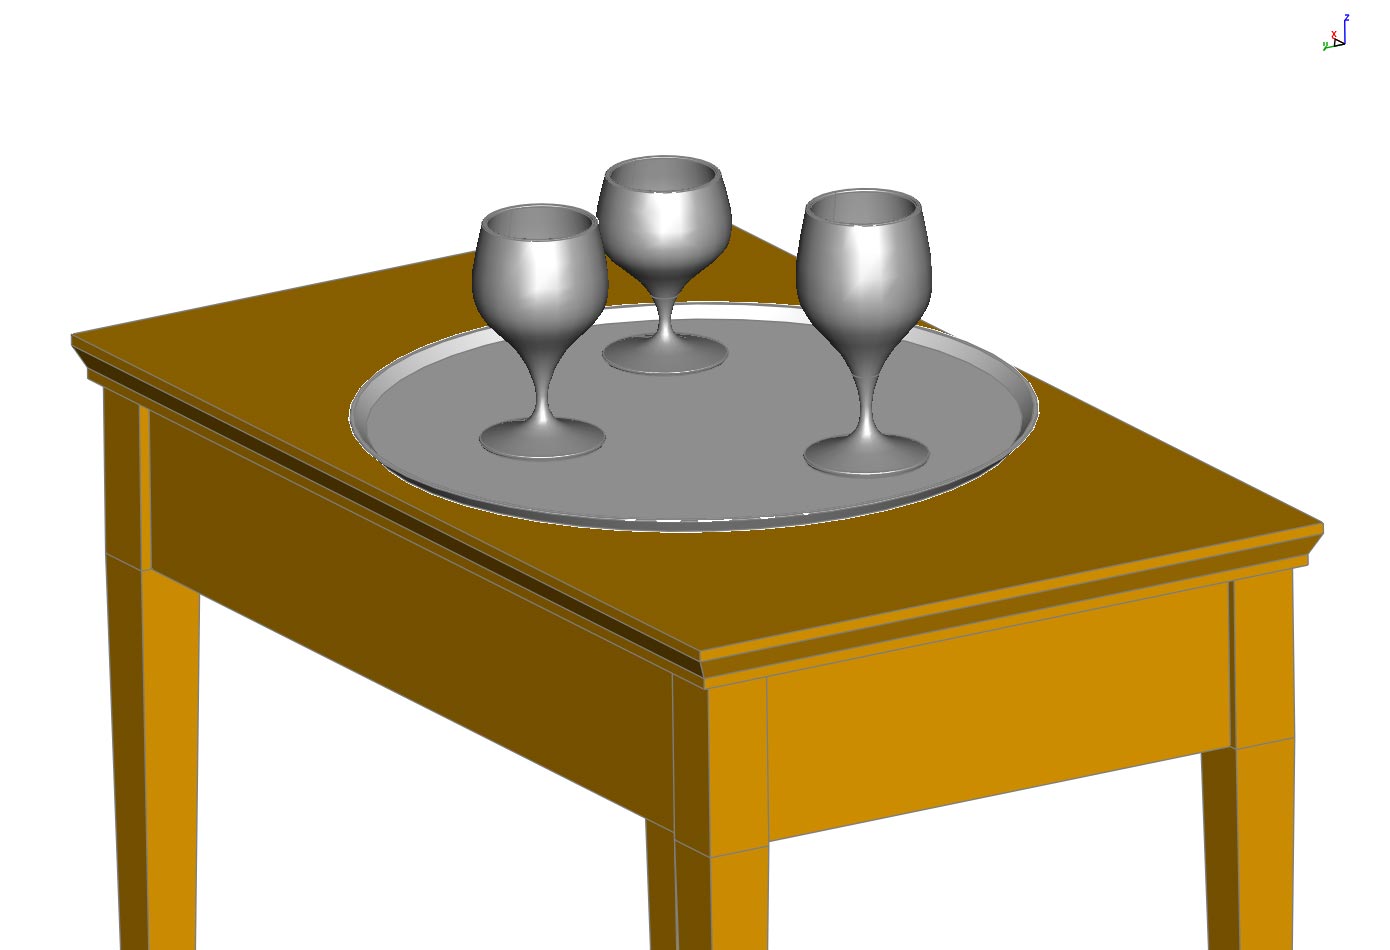
Render Styles
One model, seven styles
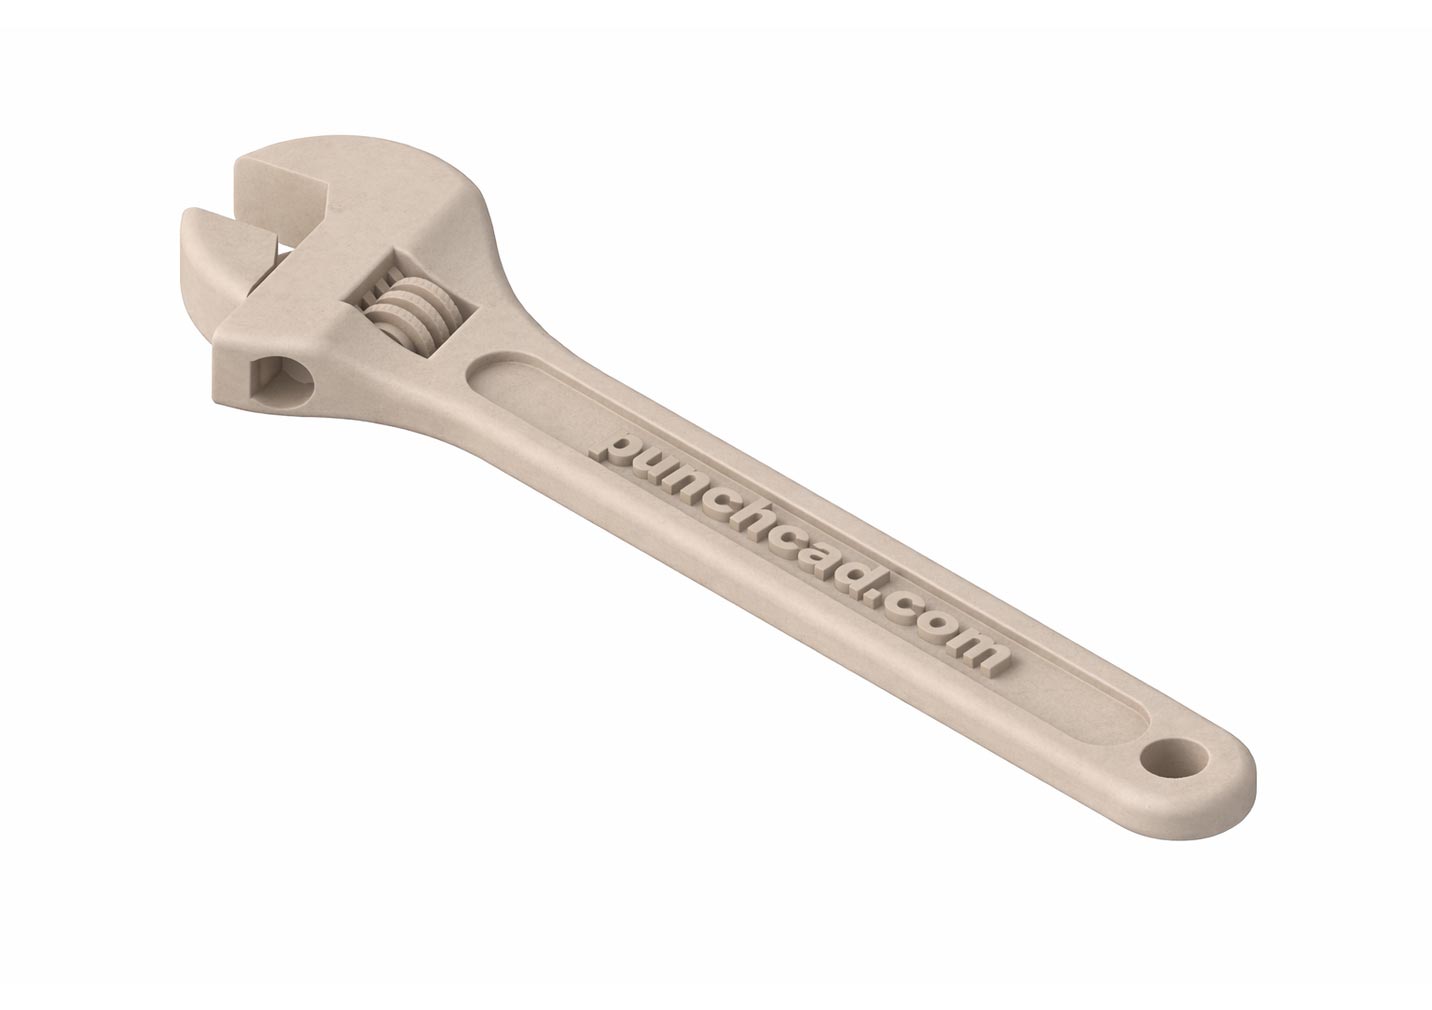
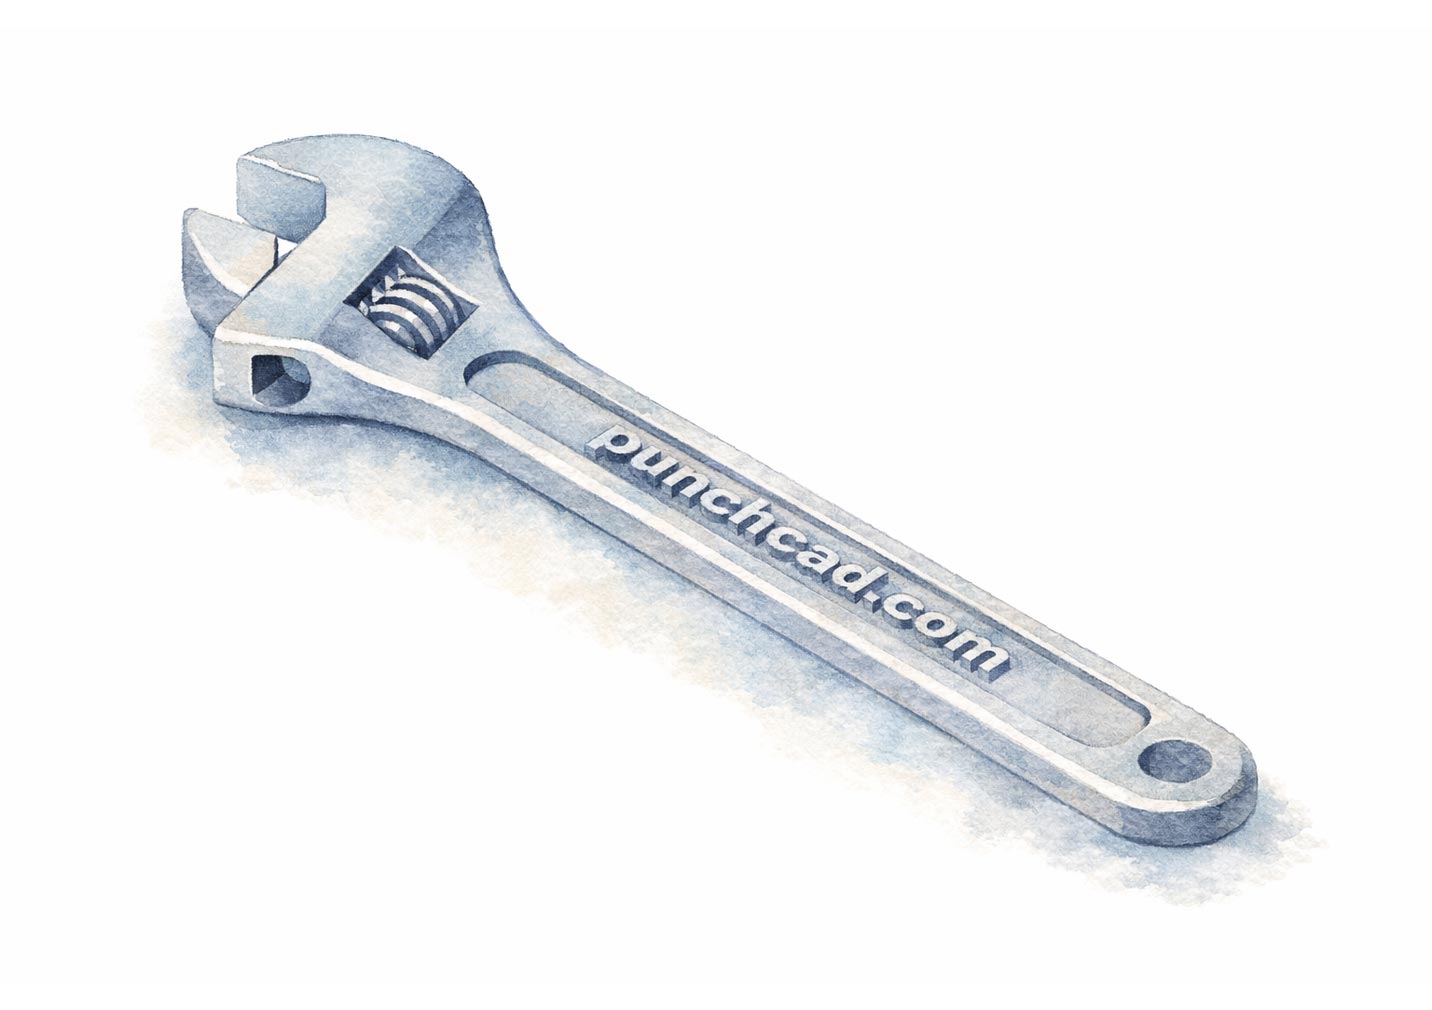
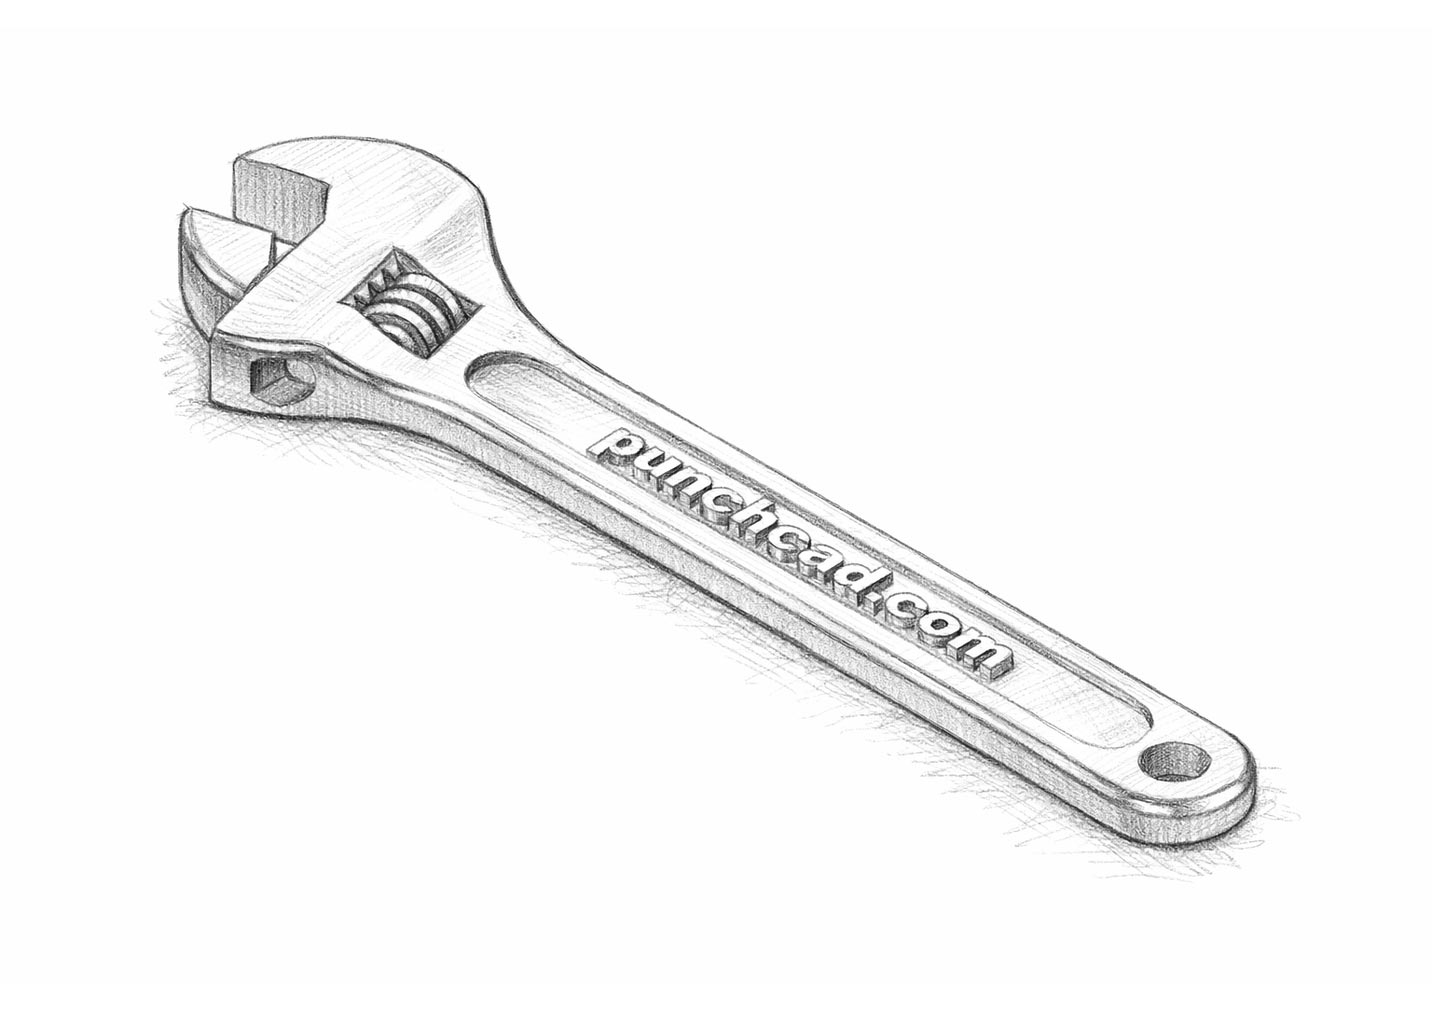
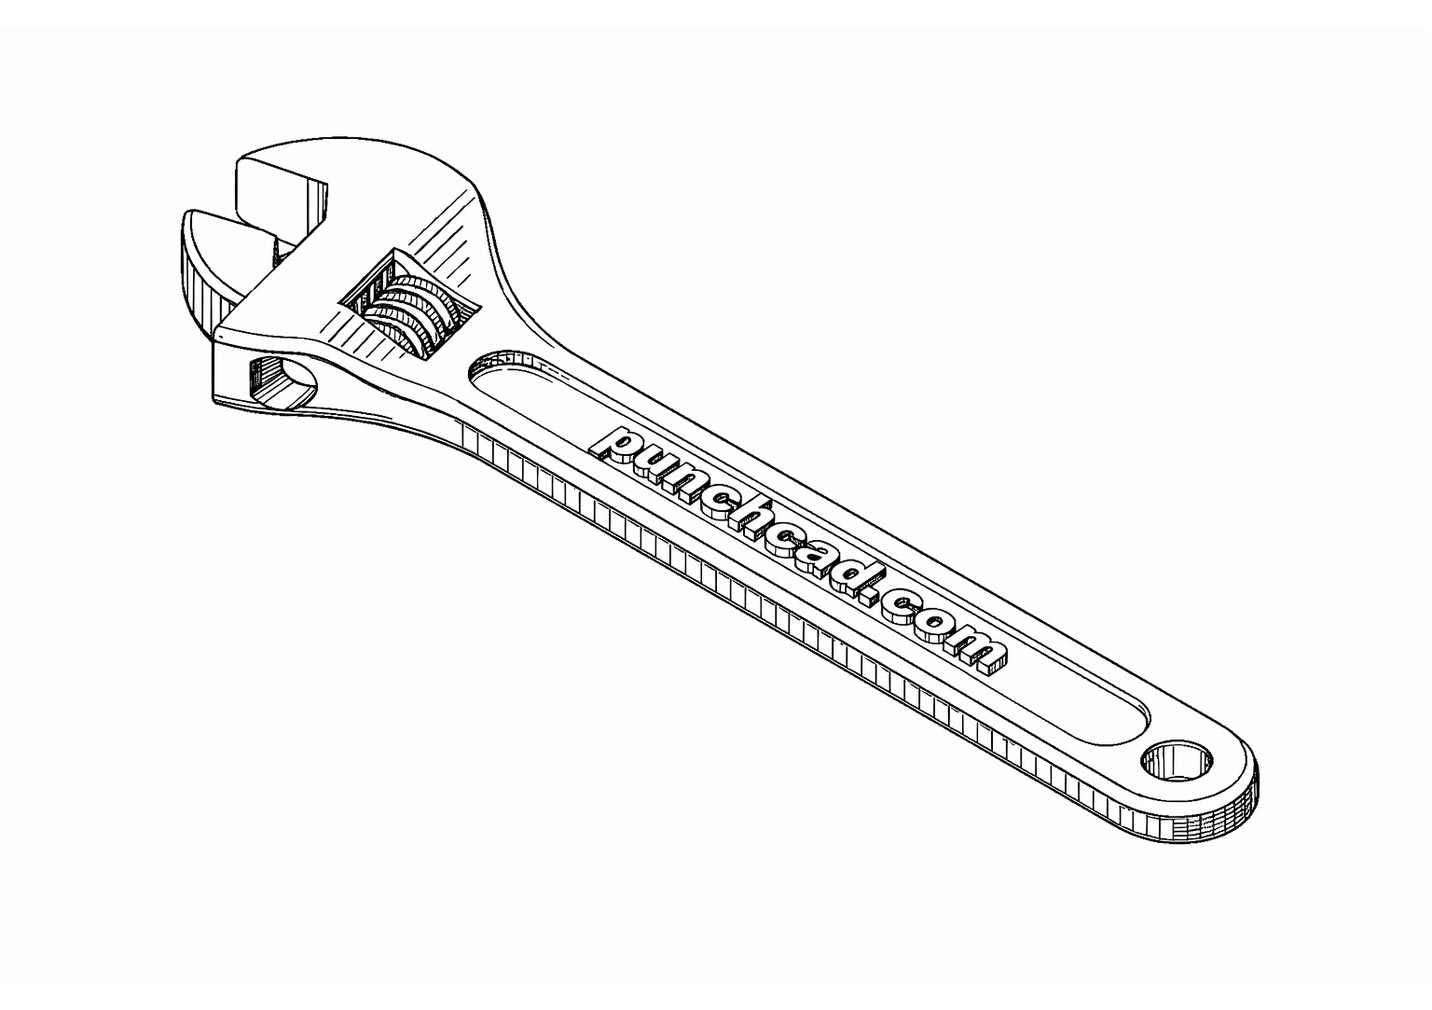
Reference-aware image sources
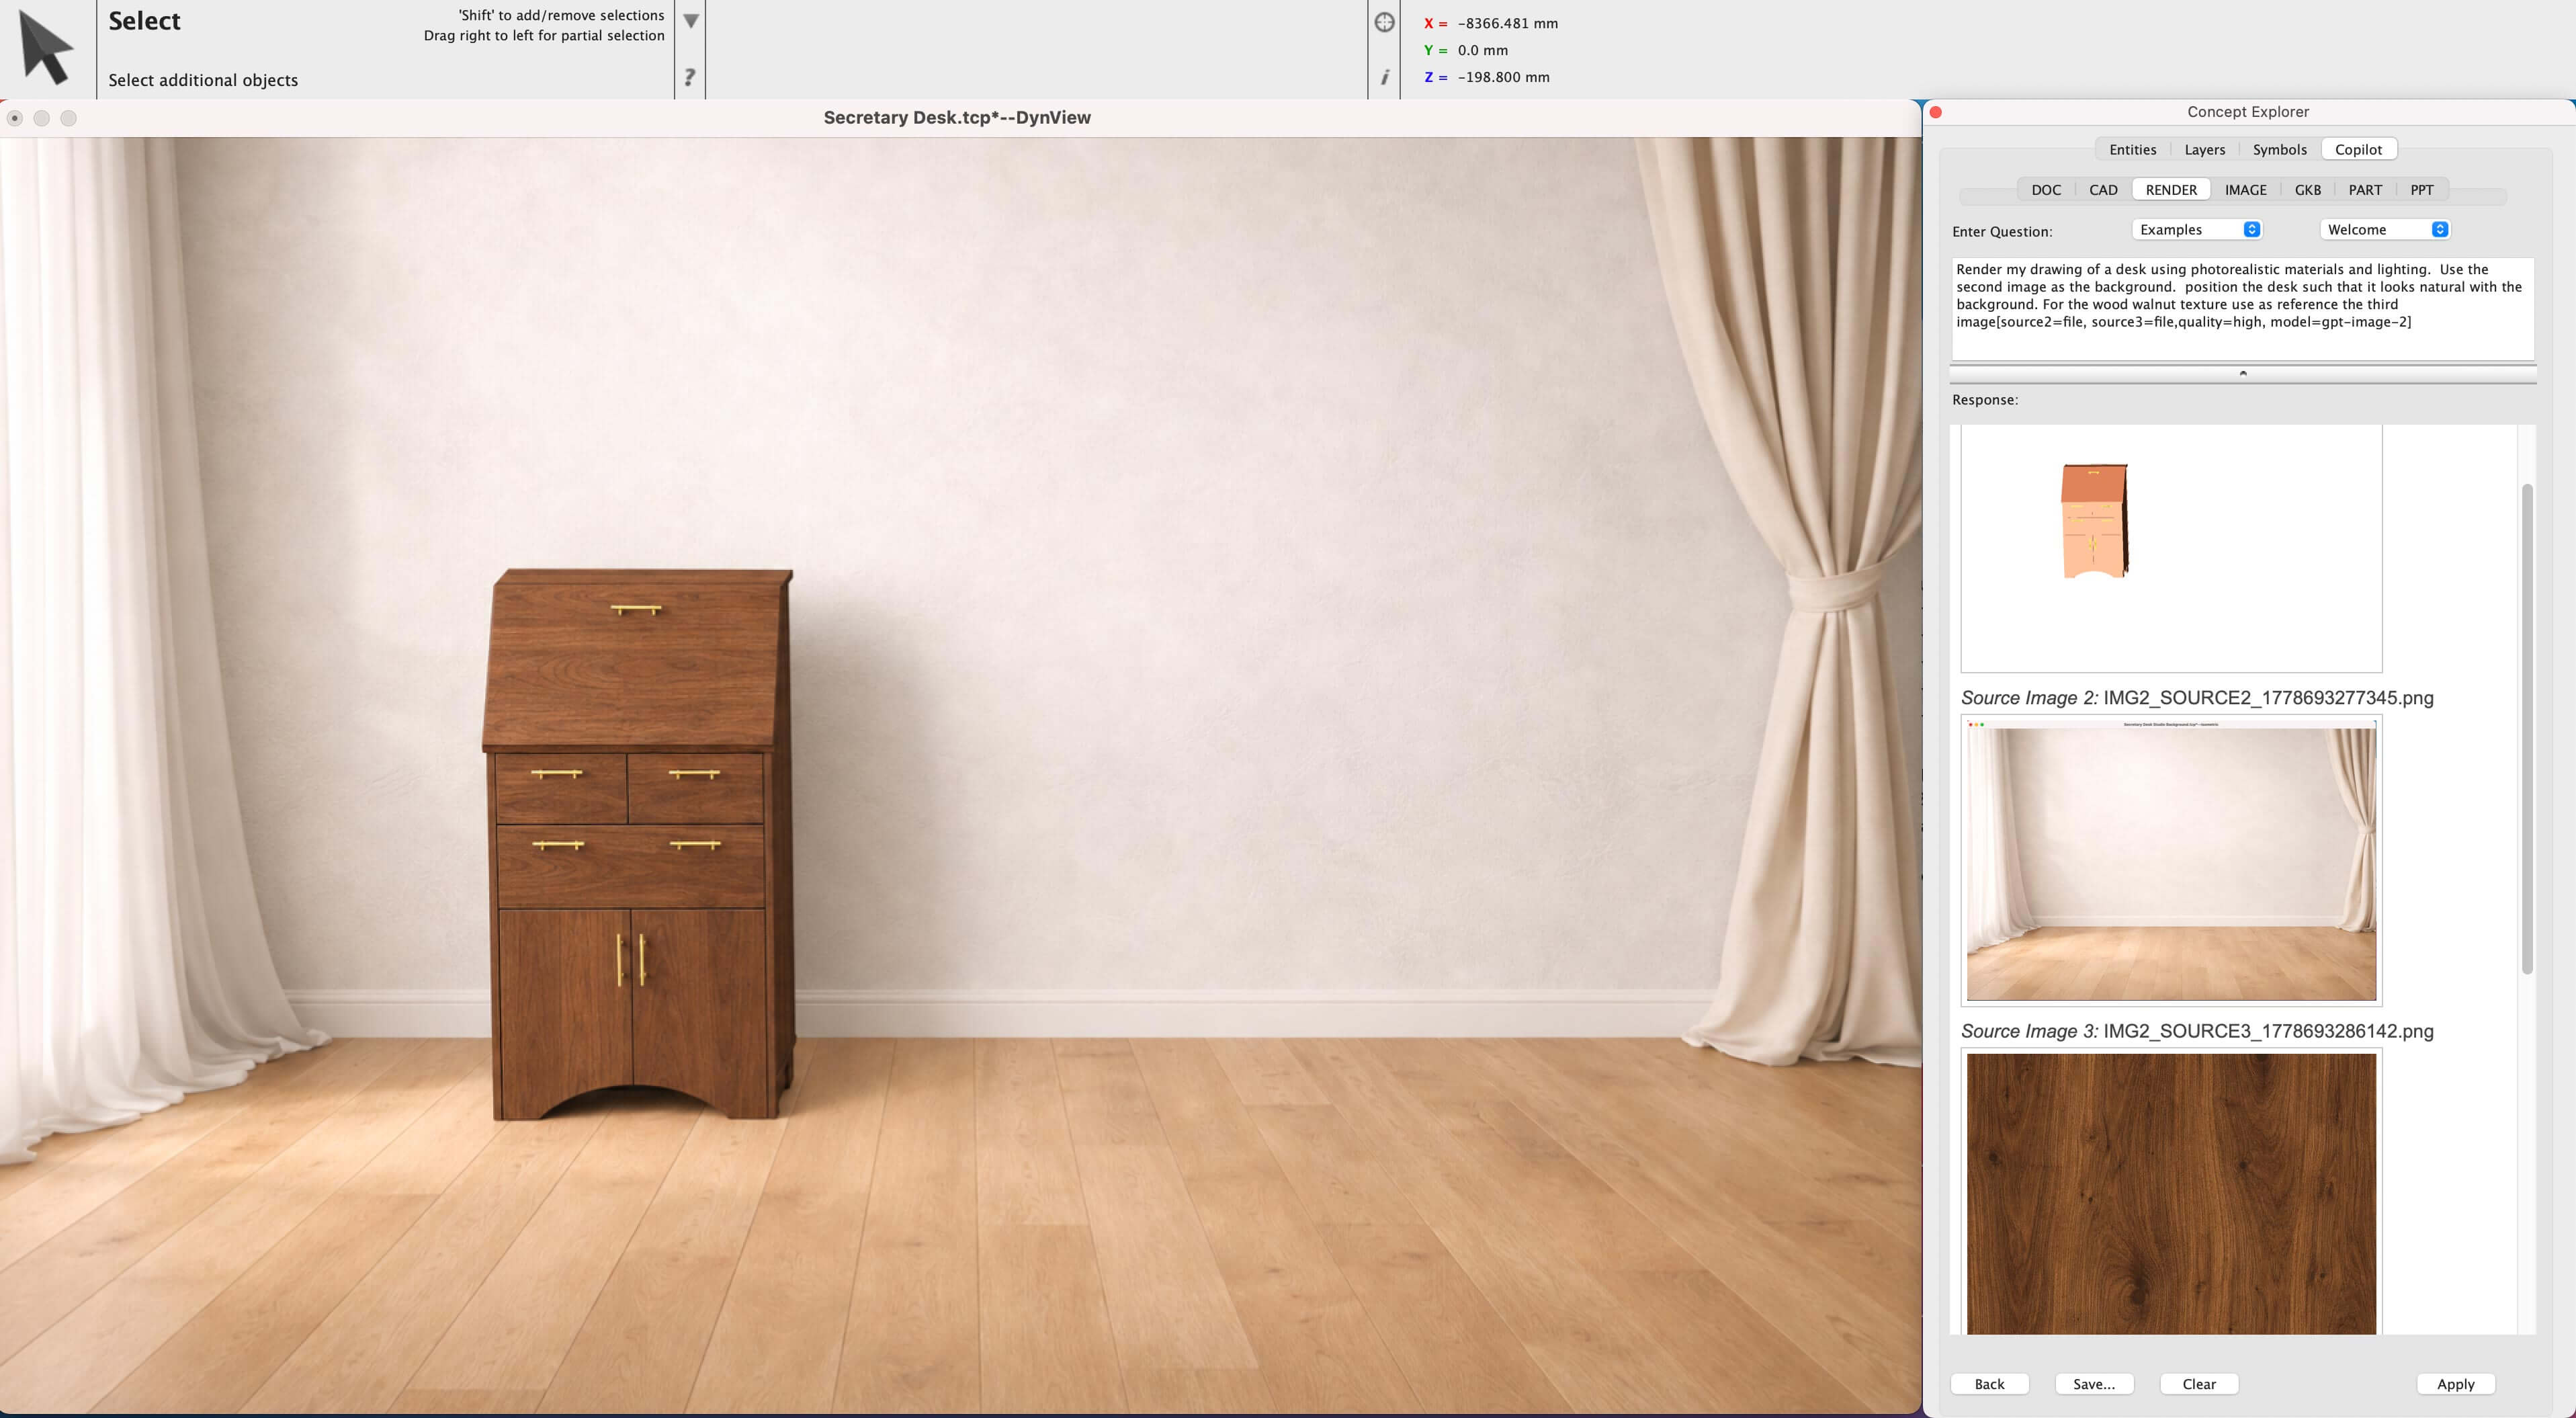
Guide materials and backgrounds
Tips and Tricks
Prompting for predictable results
- Scene
- Subject
- Materials
- Lighting
- Camera/View
- Constraints
- Rendering options
Best Uses
Great for product, architecture, furniture, and concept visuals, especially when teams want review-ready imagery before final materials are locked.
Keep in Mind
These are conceptual visualizations. If geometric accuracy matters, say exactly what must remain unchanged.
Rule of Thumb
Start with plain-language art direction first. Add bracket options only when you need a specific rendering control.
Bracket Options
Use bracket options for quality, shape exploration, output size, source images, file comments, and input fidelity. Put style, camera, lighting, material, and preservation guidance directly in the prompt.
[quality=low][quality=medium][quality=high][shape_change=low][shape_change=high][output_size=4096x4096][source=file][source2=file][context=comments][input_fidelity=high]Build the scene first
Define the environment up front with phrases like clean white studio, modern kitchen, factory floor, or outdoor patio so the renderer knows where the object should live.
Name the materials directly
Ask for surfaces like brushed aluminum, matte black plastic, oak veneer, or polished ceramic instead of relying on vague visual mood words alone.
Say what should change
Be explicit: change the material, add a studio background, use softer shadows, or make the plastic matte black. Direct requests tend to produce cleaner iterations.
Say what must stay the same
Use constraints like preserve proportions, keep the same number of parts, do not change silhouette, and no labels or logos when CAD fidelity matters.
Use sources deliberately
Use [source=file] for the edited image, then use [source2=file] , [source3=file] , or [source4=file] for material, texture, or background references.
Choose shape change carefully
Use low shape change when topology should stay close to the CAD view, and reserve higher values for alternate form exploration.
Example prompts
Photoreal product render
High-fidelity pass for a finished-looking concept image with preserved proportions and stronger material realism.
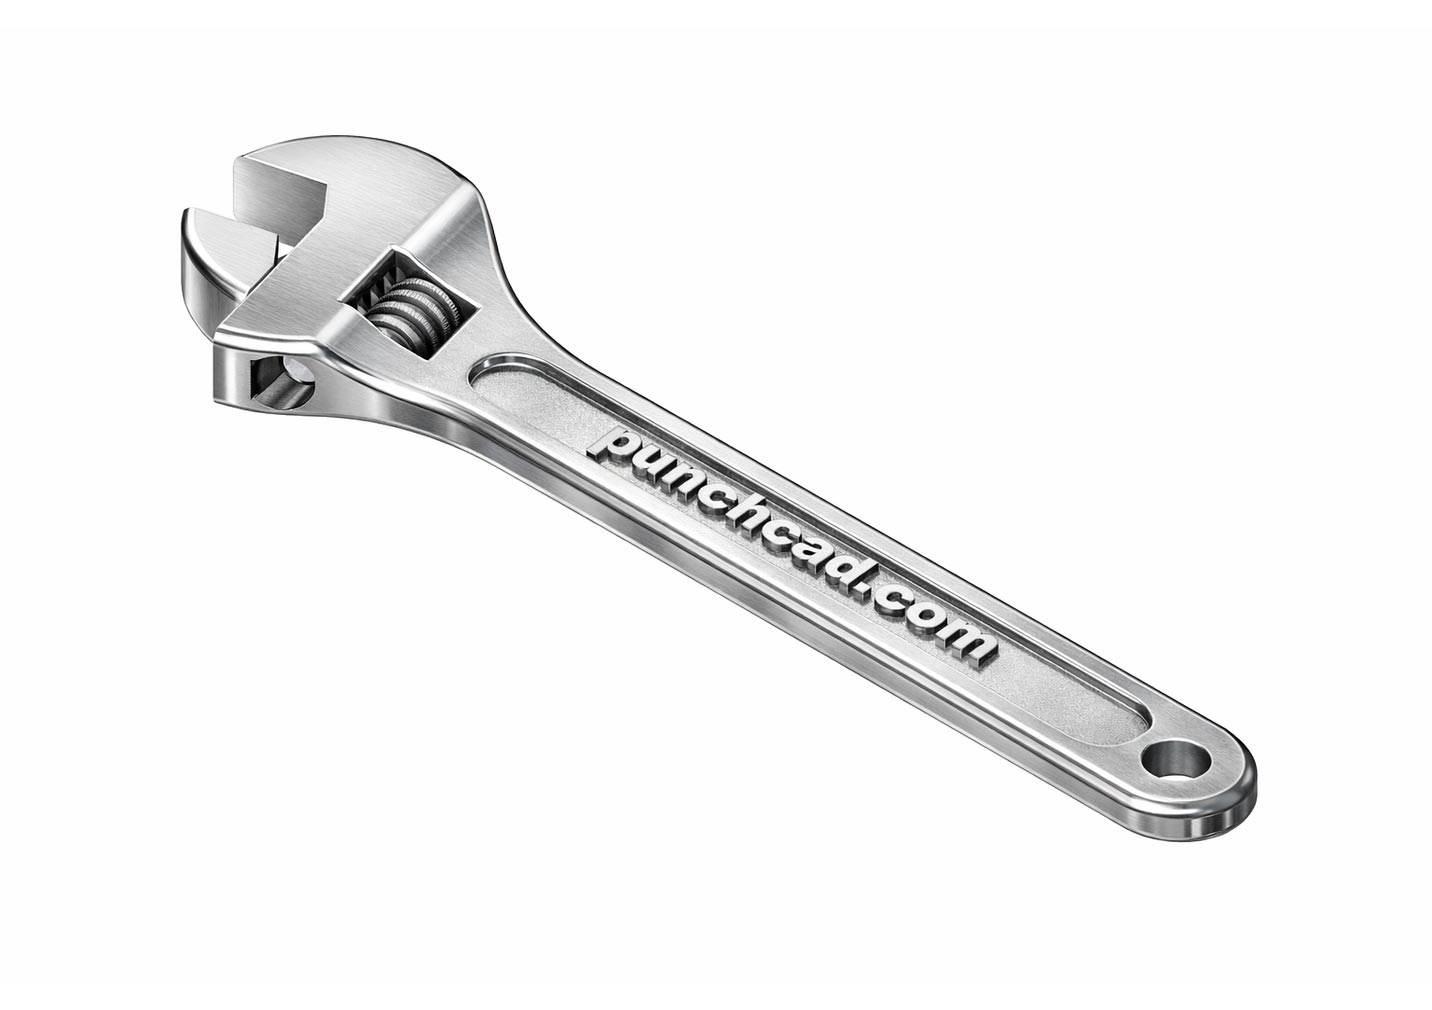
Render my steel crescent wrench using photo realistic rendering and lighting with a white background. Preserve the overall proportions and major edges. Use brushed steel material, soft studio lighting, and subtle contact shadows. [quality=high] [input_fidelity=high]Quick concept pass
Fast iteration prompt for early review cycles where speed matters more than the final polish level.
Render this CAD model as a quick product concept with clean lighting, neutral background, and realistic materials. Keep the current view and overall shape. [quality=low]Reference-driven material pass
Useful when a second or third image should influence the material finish or background treatment.
Render this desk using the second image as the wood texture reference and the third image as the background reference. Keep the desk shape and proportions close to the original CAD drawing. [source2=file, source3=file]Large hero output
Designed for presentation or marketing-style imagery when the team needs a larger finished render.
Render this CAD model as a high-resolution hero image with photo realistic lighting, clean composition, and realistic material finish. Preserve the current silhouette and major visible edges. [quality=high] [output_size=4096x4096]Where it sits
Copilot across the editions
| Copilot Help | Designer: Optional Plug-In / Deluxe: Optional Plug-In / Pro: Optional Plug-In / Platinum: Optional Plug-In |
|---|---|
| Copilot Professional | Designer: Optional Plug-In / Deluxe: Optional Plug-In / Pro: Optional Plug-In / Platinum: Optional Plug-In |
| Copilot Render Assistant | Designer: yes / Deluxe: yes / Pro: yes / Platinum: yes |
